
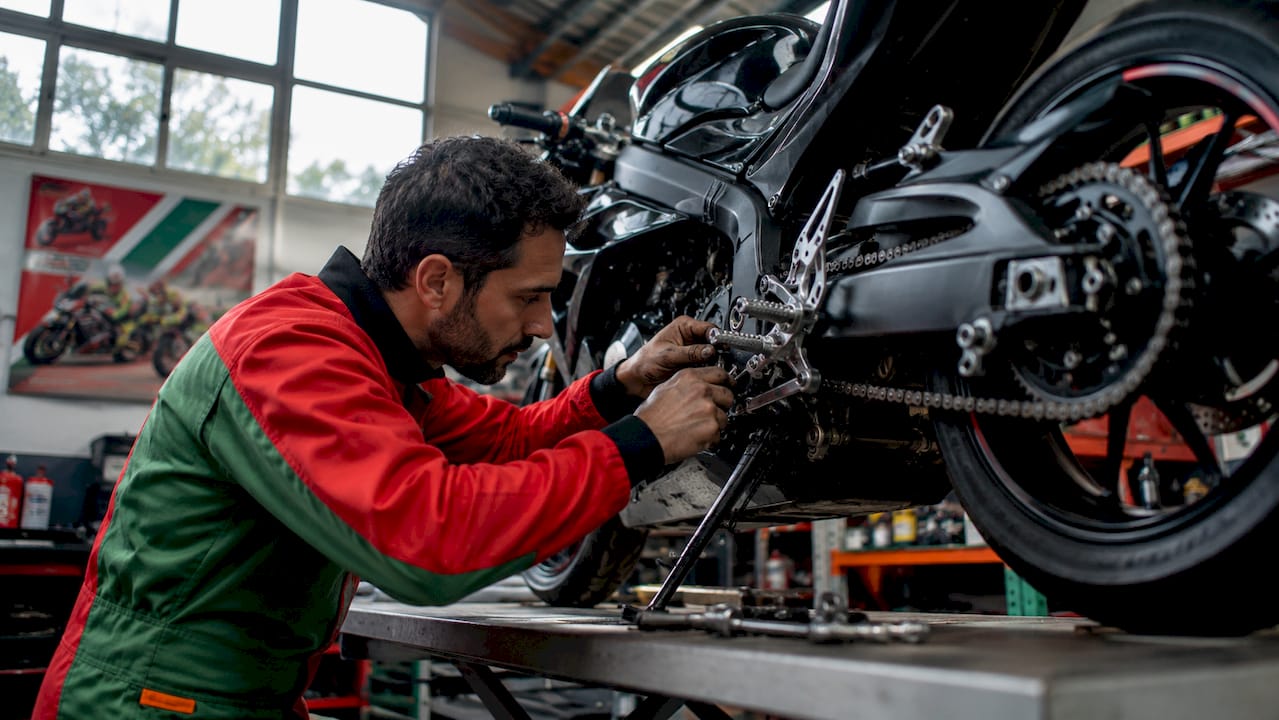
Motorcycle rearsets are aftermarket foot control assemblies designed to reposition the footpegs higher and further rearward than the standard factory location, directly improving rider posture, ground clearance, and control. Understanding why motorcycle rearsets improve performance requires looking at three interconnected factors: ergonomic adjustment, cornering clearance, and foot positioning precision. These components are standard equipment on professional racing machinery and are increasingly fitted to sport, adventure, and track-day bikes by riders who want a measurable handling advantage. Brands such as Gilles Tooling produce rearsets used across both circuit racing and road riding, reflecting how widely the performance case for this upgrade is accepted.
How do rearsets improve rider ergonomics and posture?
Rider posture is the single most direct variable that rearsets change. When your feet sit higher and further back, your body naturally adopts a more forward-leaning position. That posture shifts weight onto the front wheel, improving steering precision and reducing the tendency for the front end to feel light under braking or through fast corners.

Adjustable rearsets allow riders to tailor foot position for improved comfort, reduced fatigue, and better control on long rides and dynamic riding. The customisation of footpeg height and angle improves ergonomics and throttle control simultaneously. That combination matters most on rides exceeding two hours, where an awkward foot position compounds into significant lower-back and knee strain.
Specific adjustment figures give a clearer picture of what is possible. Aftermarket rearsets allow ergonomic adjustments such as an 8mm drop in height and 5mm rearward placement for improved comfort and weight distribution. Those numbers sound modest, but a 5mm rearward shift changes the angle of your knee joint enough to reduce fatigue on a two-hour motorway stint or a full track session.
Professional racing teams use rearsets to force a more forward-leaning, collected body position that enhances handling in corners. The technique pairs rearsets with clip-on handlebars to concentrate weight through the footpegs during aggressive cornering. You can see the same principle applied on road bikes by fitting Gilles Tooling clip-ons alongside matching rearsets for a fully integrated ergonomic upgrade.
Proper rearset setup can noticeably reduce rider fatigue on long journeys while enhancing control responsiveness. That dual benefit makes rearsets relevant not just for track riders but for any rider covering significant distances.
Pro Tip: If you are between 170cm and 185cm tall and ride a sport bike, start with the mid-position setting on adjustable rearsets before committing to the most aggressive rearward placement. Ride 30 minutes and assess knee angle before making further changes.
Key ergonomic benefits include:
- Higher foot position reduces knee bend and hip flexion strain
- Rearward placement encourages a forward weight bias for better front-end feel
- Adjustable angle settings accommodate different boot sole thicknesses
- Improved throttle hand position as a secondary result of the changed body angle
Do rearsets really increase ground clearance for cornering?
Ground clearance is the vertical distance between the lowest point of the motorcycle and the road surface during a lean. Standard footpegs are often the first component to touch the ground during aggressive cornering, producing the familiar scraping sensation that forces riders to reduce lean angle. Rearsets solve this directly.
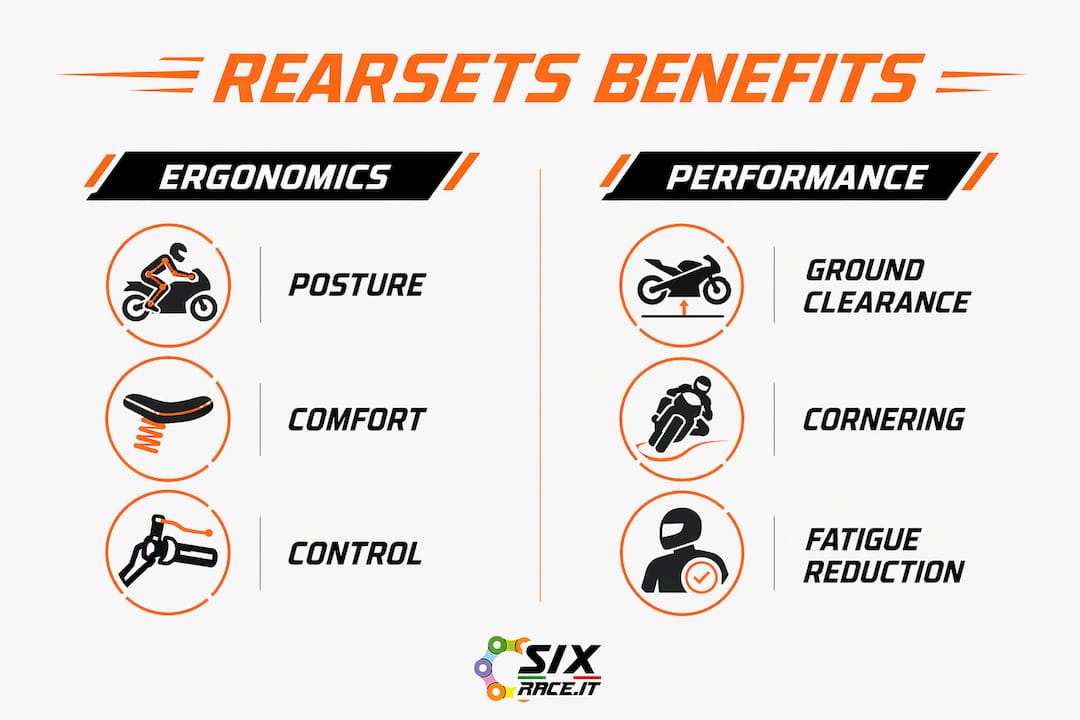
Rearsets increase ground clearance, enabling safer leaned turns and track confidence by reducing peg scrape risk. Better clearance allows more aggressive cornering and safer off-road descents. For sport riders, this means the difference between a confident apex and a moment of alarm when metal meets tarmac mid-corner.
The benefit extends beyond track use. Adventure riders on technical terrain face a similar problem: standard pegs catch on rocks or ruts during off-camber sections. Repositioning the foot controls upward removes that obstacle and gives the rider more freedom to shift body weight laterally.
Ground clearance considerations by riding type:
- Sport and track riding: Higher pegs allow lean angles beyond 45 degrees without scraping
- Adventure and off-road: Raised controls prevent peg contact on rocky or uneven surfaces
- Street riding: Reduced scrape risk during spirited cornering on twisty roads
- Touring: Less relevant for clearance, but posture benefits still apply
Pro Tip: Before purchasing rearsets, check your current lean angle limit by looking for wear marks on your existing pegs. Heavy wear on the outer edge confirms you are already hitting the clearance ceiling and will gain immediately from the upgrade.
Rearsets refine the rider’s ergonomics to a more collected posture, optimising weight distribution and cornering performance. That weight shift works in combination with the clearance gain to produce a compounding improvement: you can lean further, and your weight is better placed to manage the bike through that lean.
What types of motorcycle rearsets are available?
The rearset market divides into two primary categories: fixed and adjustable. Each serves a different rider profile, and understanding the distinction prevents a costly mismatch.
Fixed rearsets are machined to a single position, typically the most aggressive racing stance. They suit dedicated track bikes or riders who have already determined their ideal foot position through experience. Fixed units are generally lighter and simpler in construction, with fewer moving parts to loosen under vibration.
Adjustable rearsets offer multiple mounting positions, usually achieved through slotted brackets or indexed bolt patterns. They suit riders who use the same bike for both road and track, or those still refining their ergonomic preferences. Gilles Tooling produces adjustable rearsets with multiple indexed positions, allowing position changes without specialist tools.
| Feature | Fixed rearsets | Adjustable rearsets |
|---|---|---|
| Position options | Single, fixed | Multiple indexed positions |
| Weight | Lower | Slightly higher |
| Typical use | Dedicated race bikes | Dual-purpose road and track |
| Material | Billet aluminium or titanium | Billet aluminium with steel hardware |
| Installation complexity | Straightforward | Moderate |
| Cost | Moderate | Higher |
Racing rearsets promote a tucked-in riding position that reduces wind resistance and improves aerodynamics. The more aggressive repositioning of foot controls produces a forward-heavy posture suited for high-speed riding, which is why MotoGP and Superbike machinery uses the most extreme rearward and upward positions available.
Material choice affects both feel and longevity. Billet aluminium units are the most common, offering a good balance of weight and durability. Titanium components appear on premium race-oriented kits and reduce unsprung weight further, though the cost premium is significant. Steel footpeg surfaces with abrasive teeth provide grip in wet conditions, which matters for road riders who cannot choose their weather.
Compatibility is a practical constraint that narrows the field quickly. Rearsets are model-specific components. A set designed for a Suzuki GSX-R 1300 Hayabusa will not fit a Yamaha R1 without modification. Always verify fitment by make, model, and year before purchasing.
What should you know before installing rearsets?
Installation is within reach for any rider comfortable with basic mechanical work. The process typically takes 15–20 minutes for an experienced rider on a familiar model. First-time installers should allow 45–60 minutes to work carefully and refer to the manufacturer’s fitting guide throughout.
The standard installation sequence runs as follows:
- Remove the existing footpeg assembly by unbolting the mounting bracket from the frame
- Disconnect the brake pedal linkage and gear lever from the standard controls
- Fit the new rearset bracket to the frame using the supplied hardware
- Reattach the brake pedal and gear lever to the new rearset positions
- Set the brake pedal height to match your preferred foot position
- Adjust the gear lever to align with the new footpeg height
- Test all controls for full range of movement before starting the engine
Two specific challenges catch riders out regularly. Improper installation of the return spring is a frequent problem, as return spring tension requires specific leverage or a dedicated tool to seat correctly. A spring that pops off during installation is not just frustrating. It can create a safety issue if the peg fails to return to position under load.
Aftermarket rearsets may also cause a delay in rear brake light activation due to sensor sensitivity differences. Some kits require adjustment of the brake light sensor, or replacement with a pressure-sensitive switch, to restore correct function. Never skip this check. A delayed brake light is a genuine road safety concern.
Pro Tip: After installation, sit on the bike with the engine off and work through three full brake and gear change cycles before riding. This confirms the controls move freely, return correctly, and that the brake light activates at the right point in pedal travel.
Rearsets as a long-term investment: Matteo’s view
I have fitted rearsets to four different bikes over the years, and the upgrade consistently delivers more than riders expect. The first thing you notice is not the ground clearance gain. It is the confidence that comes from feeling properly connected to the machine. When your feet are in the right place, your whole body follows, and the bike responds to inputs you did not even know you were making incorrectly before.
The installation complexity puts some riders off, and I understand that hesitation. The return spring issue is real, and the brake light sensor adjustment catches people by surprise. But neither problem is difficult once you know it is coming. Read the fitting guide fully before you start, have a pair of long-nose pliers ready for the spring, and test the brake light before you leave the garage.
Cost is the other common objection. Quality adjustable rearsets from established manufacturers sit at a price point that feels significant compared to simpler bolt-on parts. My view is that they are worth it, provided you choose a set matched to your actual riding style. A track-focused fixed rearset on a bike you ride to work every day will make commuting uncomfortable. An adjustable set with a mid-range position gives you both worlds.
The riders who get the most from this upgrade are those who take time to dial in the position properly over several rides rather than setting it once and leaving it. Treat the first adjustment as a starting point, not a final answer.
— Matteo
Premium rearsets and performance parts at Sixrace
Sixrace stocks a carefully selected range of adjustable and fixed rearsets from manufacturers including Gilles Tooling and Evotech Performance, covering sport, adventure, and track-focused motorcycles across major makes and model years.

Every product in the Sixrace catalogue is matched by make, model, and year, so you can confirm compatibility before ordering. The Evotech Performance accessories range includes rearsets engineered for both road and circuit use, with fitment data verified for accuracy. If you are ready to upgrade your foot controls and want to browse the full selection, Sixrace offers motorcycle accessories online with tracked shipping across Europe. Riders looking for their reserved discount can access the Sixrace discount page for current offers on performance components.
FAQ
What are adjustable rearsets on a motorcycle?
Adjustable rearsets are aftermarket foot control assemblies that allow the footpeg position to be moved to multiple height and rearward settings. They replace the standard factory controls and are designed to improve ergonomics, ground clearance, and rider control.
Are rearsets worth fitting to a road bike?
Rearsets deliver measurable benefits on road bikes, including reduced fatigue on long rides and improved cornering clearance. Riders who regularly use twisty roads or attend track days gain the most from the upgrade.
How long does rearset installation take?
Installation typically takes 15–20 minutes for an experienced rider and up to 60 minutes for a first-time installer. The most common complications are return spring seating and brake light sensor adjustment.
Do rearsets affect the brake light?
Aftermarket rearsets can delay rear brake light activation due to differences in sensor sensitivity. Adjusting the existing sensor or fitting a pressure-sensitive switch resolves the issue and restores correct brake light function.
What is the difference between fixed and adjustable rearsets?
Fixed rearsets are set to a single position and suit dedicated track bikes. Adjustable rearsets offer multiple indexed positions and are better suited to riders who use the same bike on both road and track.
Key takeaways
Motorcycle rearsets improve performance by repositioning foot controls to enhance ergonomics, increase ground clearance, and provide more precise rider input through corners.
| Point | Details |
|---|---|
| Ergonomic adjustment | Rearsets allow height and rearward adjustments that reduce fatigue and improve weight distribution. |
| Ground clearance gain | Raised foot controls allow greater lean angles without peg scrape on road or track. |
| Posture and handling | A more collected riding position improves front-end feel and cornering confidence. |
| Installation awareness | Return spring tension and brake light sensor adjustment are the two most common installation challenges. |
| Type selection matters | Choose fixed rearsets for track-only use and adjustable rearsets for dual road and track riding. |
 Italiano
 Deutsch
 Français
 Español
 English
 Polski