
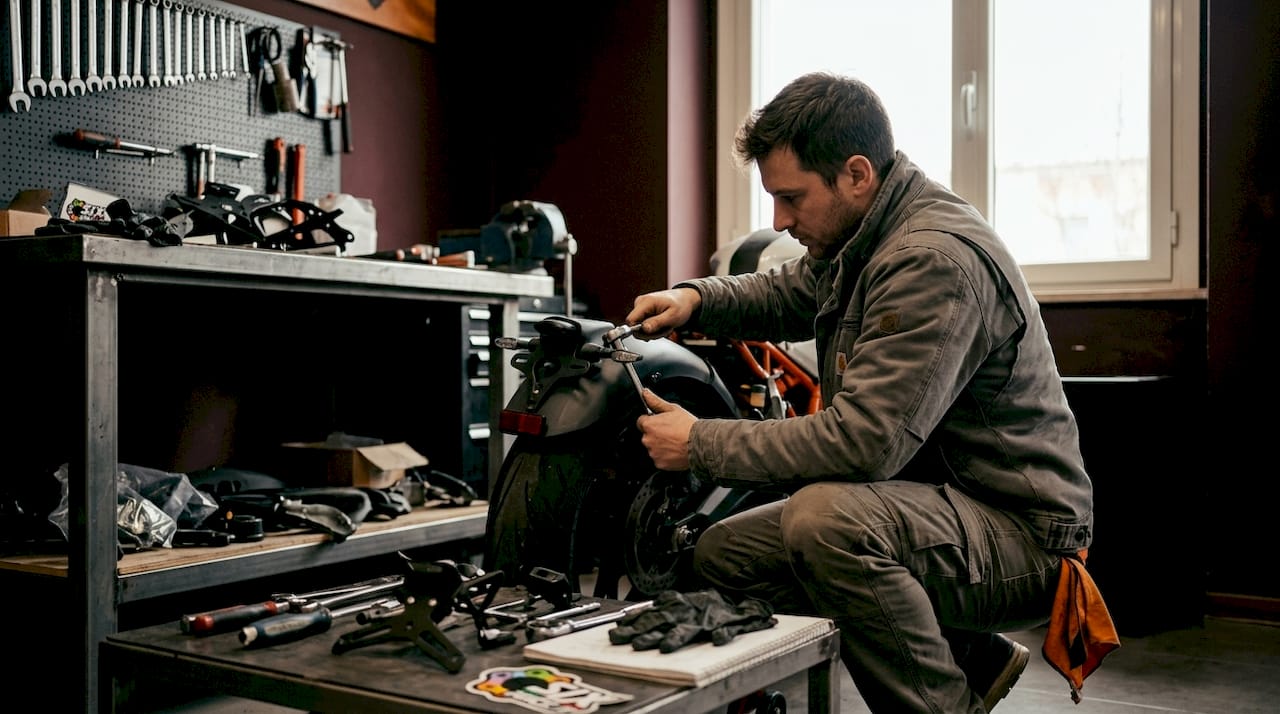
A motorcycle tail tidy is defined as an aftermarket kit that replaces the original equipment manufacturer (OEM) rear fender and licence plate holder with a smaller, sportier unit. The industry also refers to this component as a fender eliminator. Both terms describe the same modification: removing the bulky plastic assembly at the rear of a bike and fitting a cleaner, more minimalist bracket that repositions the licence plate closer to the tail. The result is a sharper rear profile that suits sport bikes, naked bikes, and adventure machines alike. This guide covers motorcycle tail tidy benefits, installation, key features, and the best options available in 2026.
What is a motorcycle tail tidy and why does it matter?
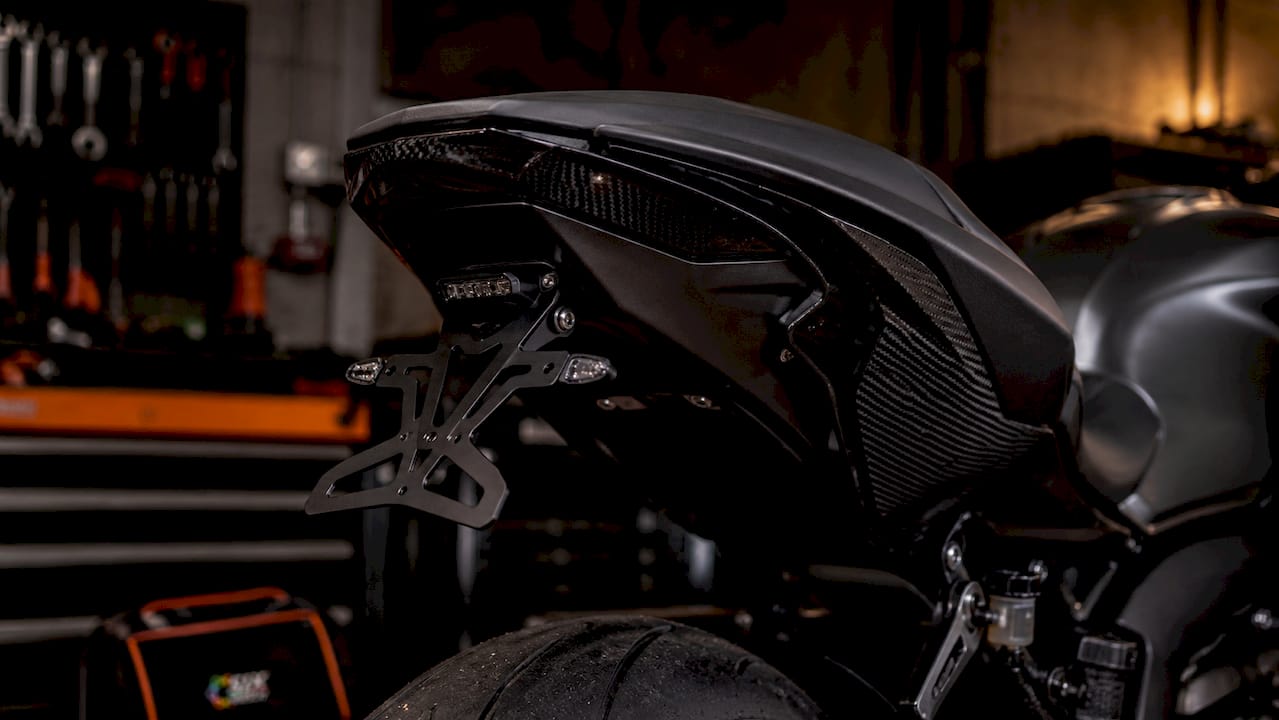
A tail tidy, or fender eliminator, replaces the OEM rear fender with a compact licence plate holder unit. The OEM fender on most production motorcycles is designed for maximum mud protection and cost-efficient manufacturing, not aesthetics. The result is a wide, heavy plastic assembly that visually dominates the rear of the bike.
Fitting a tail tidy removes that bulk entirely. The licence plate is remounted tucked under the tail, producing a clean, minimalist look that most riders consider a significant visual improvement. The modification is one of the most popular first upgrades on sport bikes and naked bikes precisely because the effect is immediate and obvious.
The term “fender eliminator” is more common in North American markets, while “tail tidy” is the standard term used across the UK and Europe. Both refer to the same product category. Using the correct term for your market helps when searching for model-specific kits.
What are the main benefits of fitting a motorcycle tail tidy?
The primary benefit is aesthetic. A tail tidy produces a cleaner, sportier rear profile by eliminating the oversized OEM fender. Tail tidies are designed to streamline the rear end, enhancing both appearance and functionality in a single modification.
Beyond looks, the benefits include:
- Weight reduction. Removing the OEM fender assembly reduces unsprung weight at the rear. Less unsprung weight improves how the suspension responds to road inputs.
- Improved rear wheel visibility. With the fender gone, the rear wheel, swingarm, and exhaust are fully visible. This is a deliberate aesthetic choice on sport bikes where mechanical components are part of the design language.
- Cleaner undertail area. A quality kit conceals wiring and mounting holes, leaving no exposed gaps where the OEM fender once sat.
- Reduced aerodynamic drag. The smaller profile creates less surface area at the rear, which marginally reduces drag at higher speeds.
One legal consideration applies regardless of market. A properly illuminated licence plate visible from prescribed angles is a legal requirement in the UK and across most European jurisdictions. Any tail tidy you fit must maintain compliant plate lighting. Kits that include a dedicated LED plate light satisfy this requirement directly.
Pro Tip: Always verify that the tail tidy kit you purchase includes a licence plate light or is compatible with your existing one. Fitting a kit without compliant illumination creates a legal liability every time you ride on public roads.
What features distinguish high-quality tail tidy kits?
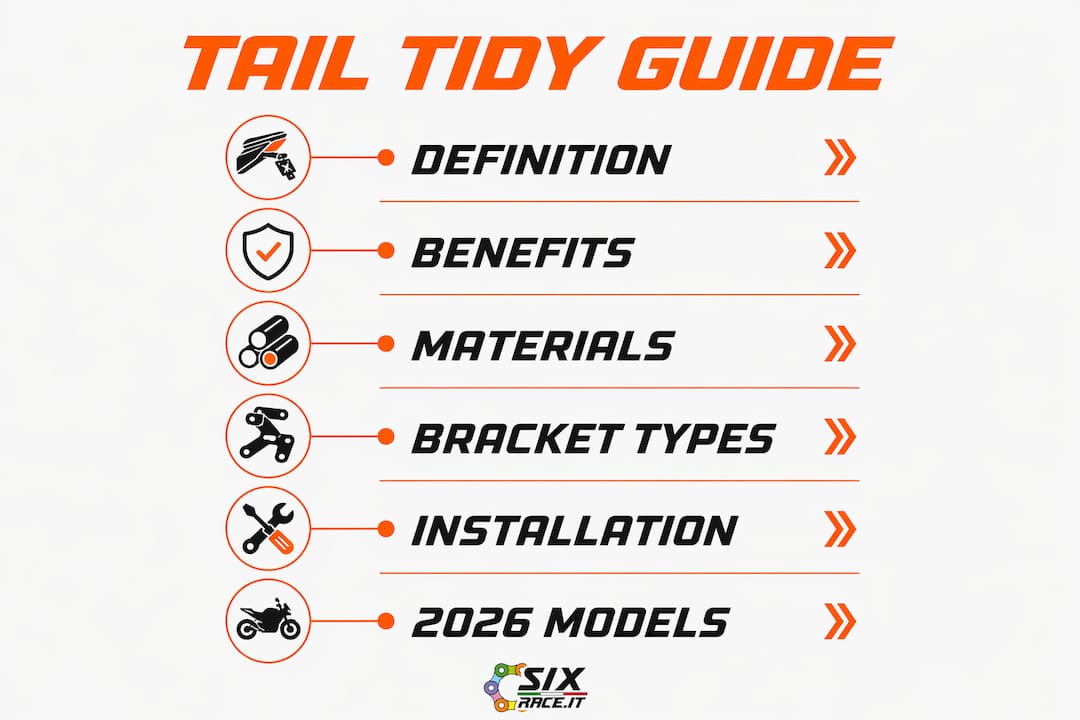
The single most important feature separating a quality kit from a basic one is the inclusion of an undertail closeout panel. When you remove the OEM fender, it leaves holes and exposed wiring in the undertail area. A colour and texture-matched ABS closeout panel fills those gaps and produces a factory-finish appearance rather than a patched or improvised look.
Materials and construction
The mounting bracket is the structural core of any tail tidy. Corrosion-resistant hardware with black powder-coated or CNC-machined anodised aluminium brackets provides both durability and a clean visual finish. Stainless steel hardware resists corrosion from road salt and rain, which matters particularly in UK and Northern European climates.
Injection-moulded ABS plastic is the standard material for closeout panels. The best kits match the texture and colour of the surrounding OEM bodywork precisely. A mismatched panel is immediately obvious and undermines the whole point of the modification.
Bracket options: fixed vs adjustable
| Feature | Fixed bracket | Adjustable bracket |
|---|---|---|
| Plate angle | Set at manufacture | Rider-adjustable |
| Structural rigidity | Higher | Slightly lower |
| Customisation | None | Angle and position variable |
| Best suited to | Track and race use | Road and touring use |
Fixed brackets offer greater rigidity and suit riders who want the lowest possible profile. Adjustable brackets allow you to set the plate angle to meet local legal requirements or personal preference.
Pro Tip: Engineers advise that the smallest kit is not always best. Kits that balance minimalism with structural strength and include undertail closeout panels deliver the best overall result. A bracket that flexes at speed creates vibration and can crack the mounting points over time.
How is a motorcycle tail tidy installed?
Installation follows a consistent process across most bolt-on kits, though the specific steps vary by model. The general sequence is as follows:
- Remove the seat and side panels. Access to the undertail area requires removing the seat and, on most bikes, the rear side fairings. Use a trim removal tool rather than a flat-head screwdriver to avoid scratching painted surfaces.
- Disconnect the OEM licence plate light wiring. The wiring connector is typically located inside the tail section. Note the connector type before disconnecting, as the new kit may use a different plug.
- Remove the OEM rear fender assembly. This is secured by bolts through the subframe or undertail bracket. The number and location of bolts varies by model.
- Remove the undertail plastics carefully. Removing brittle undertail plastics is the most tedious part of the process. These panels clip into place and can crack if forced. Work slowly around each clip with a plastic trim tool.
- Fit the undertail closeout panel. If your kit includes a closeout panel, fit this before mounting the bracket. It covers the holes left by the OEM fender and routes wiring cleanly.
- Mount the new tail tidy bracket. Bolt the new bracket to the subframe using the hardware supplied. Torque to the manufacturer’s specification.
- Connect the licence plate light wiring. Proper wiring management is critical. Route the wiring away from moving parts and heat sources. Use cable ties to secure any excess length.
- Refit the side panels and seat. Check that all panels sit flush and that no wiring is pinched.
The most common mistake is rushing the undertail plastic removal. Cracked undertail panels are expensive to replace and are not covered by most kit warranties. Take your time at step four.
Are there 2026 model-specific tail tidy kits worth considering?
The 2026 model year has produced several notable kits for popular sport bikes. The 2026 Yamaha YZF-R7 fender eliminator is a strong example of current engineering standards applied to a tail tidy design. It replaces the R7’s bulky OEM fender with a race-bred unit that offers both fixed and adjustable high-mount licence plate bracket options.
| Model | Bracket type | Undertail closeout | Bracket material |
|---|---|---|---|
| Yamaha YZF-R7 2026+ | Fixed or adjustable | Yes, colour-matched ABS | Anodised aluminium |
| Yamaha MT-07 2021–2024 | Low-mount fixed | Yes, colour-matched ABS | Powder-coated steel |
The inclusion of a colour-matched undertail closeout on both kits reflects a shift in the market toward factory-finish quality rather than purely functional fender elimination. Riders fitting these kits on recent Yamaha models report that the rear end looks as though it left the factory without the OEM fender, rather than looking modified.
For sport bikes in particular, the visual impact of a well-fitted tail tidy is significant. The rear wheel, swingarm, and exhaust system become focal points of the design rather than being obscured by a large plastic fender.
Key takeaways
A motorcycle tail tidy is the single most cost-effective visual upgrade available for sport bikes and naked bikes, provided you choose a kit with an undertail closeout panel and compliant licence plate lighting.
| Point | Details |
|---|---|
| Definition | A tail tidy replaces the OEM rear fender with a compact, sportier licence plate holder unit. |
| Undertail closeout | Kits with a colour-matched closeout panel produce a factory finish, not a modified look. |
| Legal compliance | The licence plate must remain properly illuminated to meet UK and European road regulations. |
| Installation challenge | Removing brittle undertail plastics requires plastic trim tools to avoid cracking or scratching. |
| Material quality | Anodised aluminium brackets and stainless steel hardware resist corrosion and maintain structural integrity. |
Why the undertail closeout is the detail most riders overlook
I have seen a lot of tail tidy installations over the years, and the single most common regret riders express is buying a basic bracket kit without an undertail closeout panel. The bracket itself looks fine. The problem is the gaping holes and exposed wiring left where the OEM fender used to sit. From certain angles, the bike looks unfinished rather than modified.
My recommendation is straightforward: always buy the kit that includes the closeout panel, even if it costs more. The factory-finish appearance that a colour-matched ABS panel delivers is worth every extra pound. The rear end looks as though the bike was designed that way from the outset.
On installation, I cannot stress the undertail plastic removal enough. I have seen riders crack panels that cost more to replace than the tail tidy kit itself. Use a proper plastic trim removal tool, work around each clip methodically, and never lever against painted bodywork. Ten minutes of patience at that stage saves a very expensive mistake.
The growing popularity of tail tidies among enthusiasts reflects a broader shift toward personalisation that does not compromise the bike’s mechanical integrity. A well-chosen kit from a reputable manufacturer improves the bike visually, reduces weight marginally, and requires no permanent modification to the frame or subframe. That combination of reversibility and impact is rare in motorcycle customisation.
— Matteo
Upgrade your motorcycle’s rear end with Sixrace
Sixrace stocks a wide range of motorcycle accessories including tail tidy kits, undertail closeout panels, and companion bodywork components from established manufacturers. Every product in the catalogue is matched by motorcycle make, model, and year, so compatibility checks take seconds rather than minutes.
Whether you ride a sport bike, a naked, or an adventure machine, Sixrace carries the parts to complete your upgrade correctly. Multilingual support, secure payments, and tracked shipping across Europe make ordering straightforward. Visit the Sixrace discount page to access your reserved discount on motorcycle accessories and parts today.
FAQ
What is a motorcycle tail tidy?
A motorcycle tail tidy is an aftermarket kit that replaces the OEM rear fender and licence plate holder with a smaller, sportier unit. It is also called a fender eliminator, particularly in North American markets.
Is a tail tidy legal in the UK?
A tail tidy is legal in the UK provided the licence plate remains properly illuminated and visible from the required angles. Kits that include a dedicated LED plate light satisfy this requirement directly.
How long does a tail tidy installation take?
Most bolt-on tail tidy kits take between one and two hours to install on a standard sport bike or naked bike. The most time-consuming step is removing the undertail plastics without causing damage.
Do I need special tools to fit a tail tidy?
Standard hand tools are sufficient for most installations. A plastic trim removal tool is strongly recommended to avoid cracking the undertail panels during removal.
What is the difference between a tail tidy and a fender eliminator?
Both terms describe the same product. “Tail tidy” is the standard term used in the UK and Europe, while “fender eliminator” is more common in North American markets.
 Italiano
 Deutsch
 Français
 Español
 English
 Polski