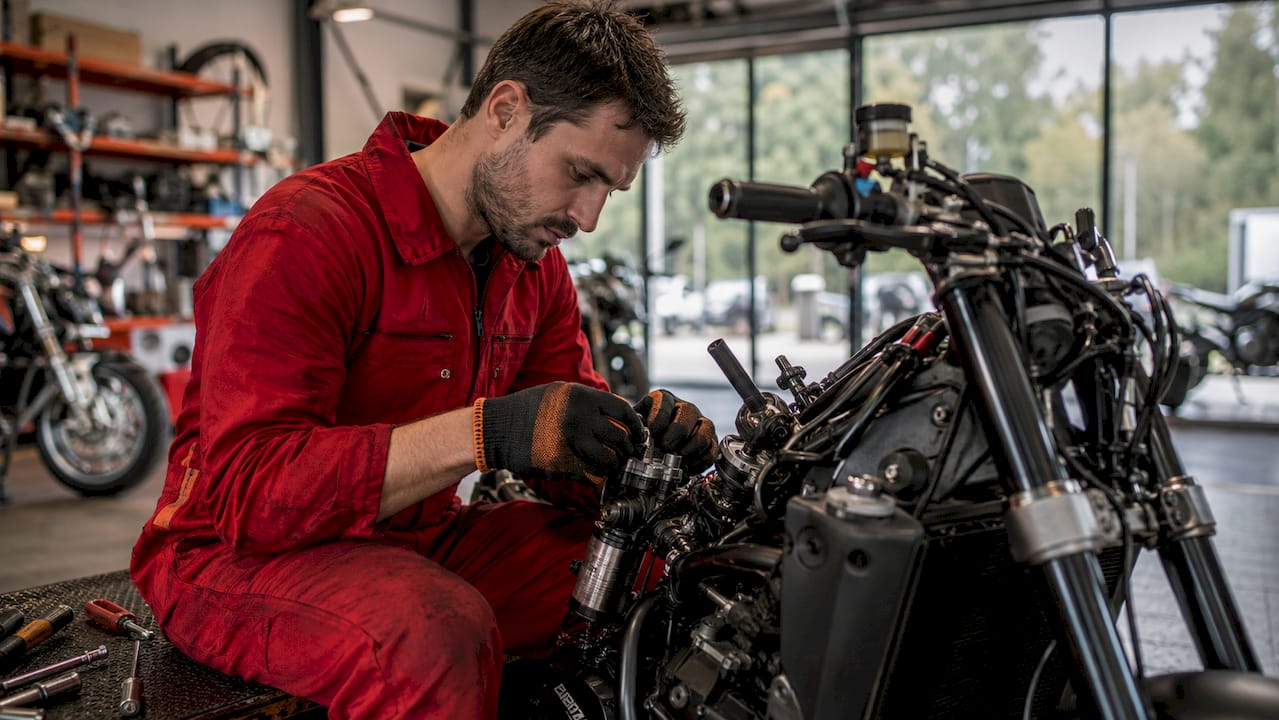
Performance tuning a sportbike is the process of systematically adjusting engine parameters, suspension geometry, and braking components to unlock hidden capability and tailor ride dynamics to your specific needs. The industry term for this process is “engine calibration and chassis setup,” though riders commonly call it performance tuning. Stock ECU maps are deliberately conservative, designed around worst-case scenarios like low-octane fuel and high altitude, which means usable power sits untapped from the factory. This performance tuning sportbike step by step guide covers every stage, from baseline measurement through engine calibration, suspension setup, and brake optimization, so you gain real improvements without sacrificing reliability.
What do you need before starting performance tuning a sportbike?
Preparation separates a successful tune from a frustrating one. Before touching any adjustment, you need the right tools and a clear picture of your bike’s current state.
The core tools for a complete sportbike tuning guide include an ECU flash device such as a Dynojet Power Commander or similar handheld tuner, a suspension sag measurement tape, a torque wrench, a clicker adjustment screwdriver, and fresh brake fluid. You also need your bike’s stock service manual for baseline specifications. Skipping any of these creates gaps you cannot fill later.
Baseline measurements are equally critical. Record your stock suspension sag, brake lever position, and ECU map version before making any changes. These numbers become your reference point for every adjustment that follows.
| Tool / Parameter | Purpose | Usage Stage |
|---|---|---|
| ECU flash device (e.g., Dynojet) | Remap fuel and ignition tables | Engine tuning |
| Suspension sag tape | Measure rider and static sag | Suspension setup |
| Clicker screwdriver | Adjust compression and rebound | Suspension tuning |
| Torque wrench | Secure components to spec | All stages |
| Brake fluid (DOT 4 or DOT 5.1) | Flush and bleed brake system | Brake upgrade |
| Stock service manual | Reference baseline specs | All stages |
- Confirm tire condition and pressure before any chassis work
- Check chain tension and sprocket wear
- Inspect brake pad thickness and rotor runout
- Note current odometer reading for maintenance tracking
Pro Tip: Take photos of every stock setting, clicker position, and lever angle before you adjust anything. A five-minute photo session saves hours of guesswork if you need to revert.
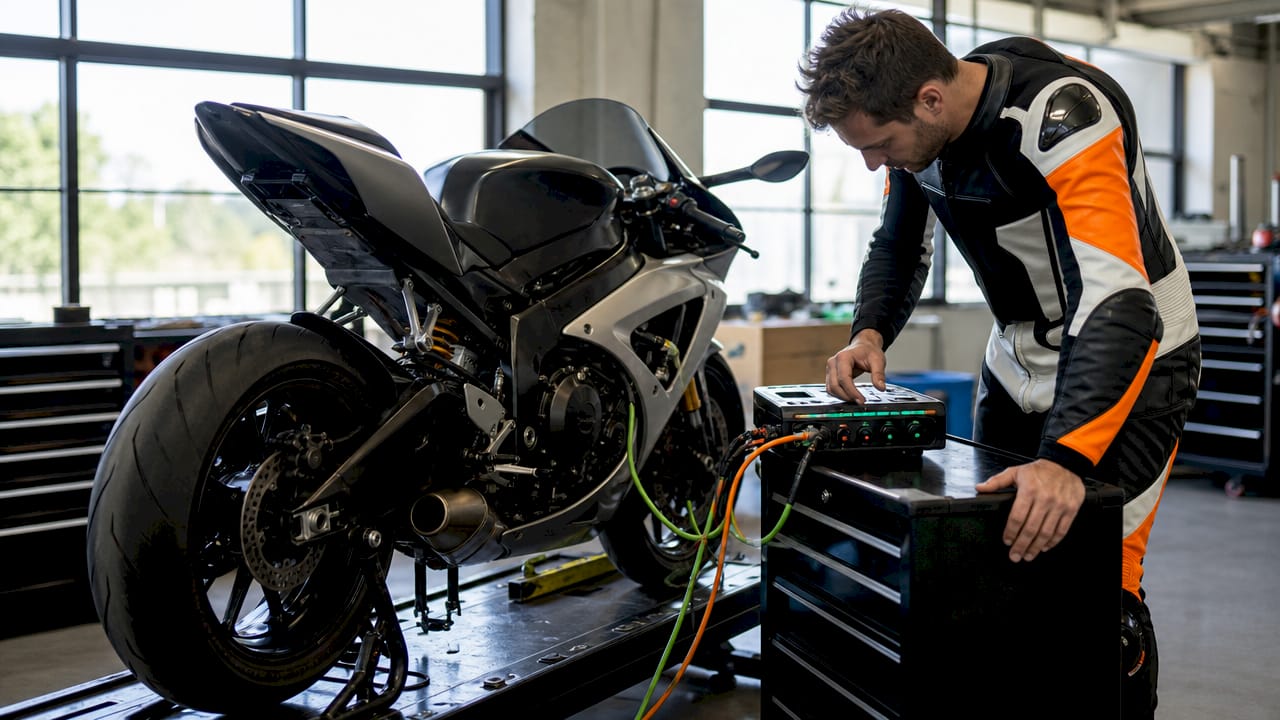
How do you tune engine fueling, ignition timing, and throttle response?
Engine calibration is the highest-leverage step in any sportbike performance upgrade. Done correctly, it produces noticeable gains in mid-range pull and top-end power. Done incorrectly, it causes lean surging, detonation, or worse.
Follow these steps in order. Changing multiple parameters at once makes it impossible to identify what caused a problem or an improvement.
- Reset to stock ECU baseline. Before any remapping, confirm the ECU holds the factory map. This gives you a known starting point.
- Install hardware modifications first. If you are adding an aftermarket exhaust or intake, fit those components before any ECU work. Exhaust and intake mods without ECU tuning cause air-fuel ratio imbalances that hurt drivability.
- Load a base map for your hardware configuration. Dynojet and similar platforms provide base maps matched to common exhaust and intake combinations. Start there rather than building from scratch.
- Adjust fuel mapping for your riding conditions. Richen the low-RPM cells slightly for street riding to improve throttle response from a stop. Lean the mid-range only if you are running high-octane fuel consistently.
- Advance ignition timing progressively. Advance timing within manufacturer safe limits only. Pushing beyond those thresholds risks detonation and engine damage. Gain one or two degrees at a time and test between each change.
- Refine throttle mapping. Throttle mapping optimization smooths power delivery and reduces the abrupt snap common on stock sport settings. Most riders find a linear or slightly progressive map more controllable than the aggressive factory setting.
- Verify on a dyno or structured road test. Technicians establish baseline runs then make incremental adjustments, confirming each change before moving to the next. Replicate that discipline even on a road test by using the same route and conditions each time.
Pro Tip: Handheld ECU flash devices let you store separate street and track maps. Load your aggressive track tune at the circuit and revert to the street map in minutes. This versatility makes a single hardware investment work across all your riding.
Sixrace carries Dynojet tuning hardware matched by motorcycle make, model, and year, which removes the guesswork of compatibility when selecting your ECU flash device.
How do you set up suspension for your weight and riding style?
Suspension setup is where most riders leave the most performance on the table. A bike with a perfect engine tune but wrong suspension sag will still feel unpredictable and tiring to ride.
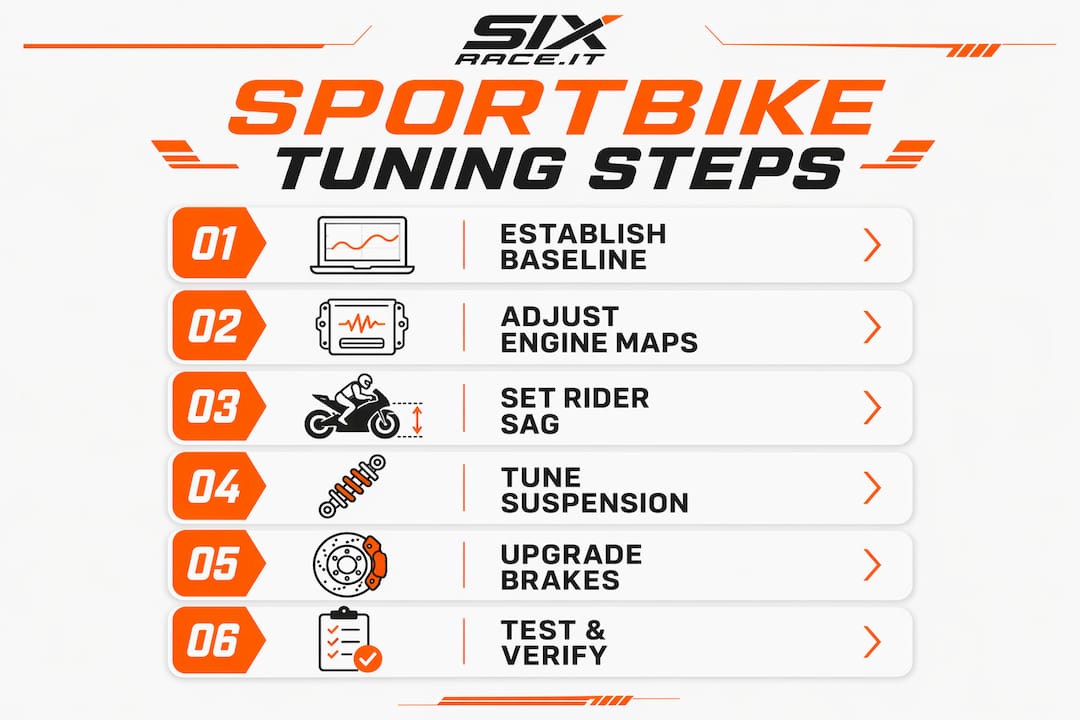
The foundation is rider sag, which is the amount the suspension compresses under your weight in full riding gear. Most sportbikes target 25–30 mm of rider sag at the rear and 30–35 mm at the front. These numbers vary by model, so confirm yours in the service manual.
Suspension tuning starts with an honest assessment of rider weight and spring rate. No amount of clicker adjustment fixes a spring that is too soft or too stiff for your weight. If your sag measurement falls outside the target range even at maximum or minimum preload, you need a spring rate change, not more damping.
Once spring rate is confirmed, zero all clickers before making any damping adjustments:
- Turn each adjuster clockwise to the full hard stop, counting clicks as you go
- Back out the manufacturer’s recommended number of clicks counterclockwise
- Record the click count for compression and rebound separately on both front and rear
- This known baseline state lets you track every change and isolate its effect
From the baseline, adjust one parameter at a time. Add one click of compression damping, test, and note the result before touching rebound. Mixing changes simultaneously produces a bike that feels different but gives you no information about why.
Pro Tip: Incorrect sag cannot be corrected by damping adjustments alone. If the bike still wallows or dives after clicker work, measure sag again before assuming the damping is the problem.
Sixrace stocks a range of suspension components and upgrades from brands including Kayaba, covering springs, fork internals, and rear shock options for most sportbike platforms.
What brake upgrades and adjustments improve sportbike performance?
Braking is a safety-critical system, and tuning it requires the same methodical approach as engine or suspension work. The goal is better feel and control, not just shorter stopping distances.
The most impactful single upgrade is switching to steel braided brake lines. Braided lines reduce hose expansion under pressure, which means all lever travel translates directly into clamping force. Riders consistently report a firmer, more progressive lever feel after this change.
Brake pad compound is the second variable. Stock pads are formulated for durability and cold-bite across a wide temperature range. High-performance sintered or carbon-metallic compounds reach peak friction at higher temperatures, which suits track use or aggressive sport riding but may feel wooden during the first few minutes of a cold street ride.
- Flush brake fluid with fresh DOT 4 or DOT 5.1 before any other brake work
- Bleed all air from the system after fitting new lines or pads
- Adjust lever reach to place two fingers comfortably on the lever at your natural grip position
- Brake lever height and bite point adjustment improves confidence and allows later braking and more precise corner entry speed control
Safety note: Never ride on a brake system that has not been fully bled and tested at low speed before returning to normal riding. Brake modifications demand a static lever-feel check and a slow-speed test stop before any performance riding.
Sixrace carries a full range of high-performance brake components, including braided lines, pads, and rotors from established brands, all listed by motorcycle make and year for direct compatibility.
What mistakes should you avoid and how do you verify tuning gains?
The most common tuning error is changing multiple parameters in a single session. Riders adjust fuel mapping, suspension clickers, and brake lever position on the same day, then cannot explain why the bike feels better or worse. Single-variable adjustment is the only method that produces repeatable, trustworthy results.
| Common mistake | Consequence |
|---|---|
| Changing fuel and ignition maps simultaneously | Cannot identify which change caused a problem |
| Skipping ECU reset before remapping | New map built on corrupted baseline data |
| Adjusting compression and rebound together | Unpredictable handling with no clear cause |
| Ignoring sag before clicker work | Damping changes mask a mechanical spring mismatch |
| Skipping dyno or structured road test | Gains or regressions go undetected |
Verifying improvements requires a consistent test protocol. Use the same road section or dyno facility for every test run. Note ambient temperature, fuel grade, and tire pressure, because these variables affect results. A dyno provides objective horsepower and torque figures. Structured road tests provide feel feedback that a dyno cannot replicate, particularly for throttle smoothness and suspension compliance.
A balanced tuning approach prioritizes rideability and reliability over maximum horsepower. Chasing peak power numbers at the cost of low-end torque or predictable handling produces a bike that is fast on paper but exhausting and risky to ride on real roads.
Key Takeaways
Effective sportbike performance tuning requires systematic, single-variable adjustments across engine calibration, suspension setup, and braking, verified at each stage before proceeding.
| Point | Details |
|---|---|
| Start with a stock baseline | Reset ECU and zero suspension clickers before any adjustment to create a reliable reference point. |
| Hardware before software | Fit exhaust and intake mods before ECU remapping to avoid air-fuel ratio imbalances. |
| Sag determines everything | Measure and correct rider sag before touching compression or rebound damping. |
| One change at a time | Adjust a single parameter per session and test before moving to the next variable. |
| Verify every gain | Use a dyno run or structured road test after each tuning stage to confirm real improvement. |
The case for tuning your way, not the fastest way
I have watched riders spend serious money chasing peak dyno numbers, only to end up with a bike that is genuinely unpleasant to ride anywhere below 8,000 RPM. The horsepower figure looks great on a forum post. The riding experience does not match it.
The most satisfying tunes I have seen are the ones built around the rider’s actual weight, their regular roads, and their honest skill level. A 10 hp gain that also sharpens throttle response and smooths the power curve is worth more than a 20 hp gain that makes the bike snappy and nervous. Incremental tuning, where you test after every change, also catches problems early. A lean surge at part throttle is easy to fix when you know exactly which fuel cell you changed. It becomes a diagnostic nightmare when you have altered six parameters in one afternoon.
My strongest recommendation is to treat suspension sag as the non-negotiable first step. Riders skip it because it feels less exciting than ECU work. But a bike with correct sag and stock damping handles better than a bike with wrong sag and expensive aftermarket dampers. Get the mechanical foundation right, then layer in the electronic and damping refinements. Professional consultation for ECU remapping is worth the cost if you are not confident reading fuel and ignition tables. The risk of detonation from an aggressive ignition advance is real, and no dyno number justifies engine damage.
— Matteo
Sixrace supports your tuning build from first part to final setup
Riders who take performance tuning seriously need parts that match their bike exactly and arrive ready to install. Sixrace carries the components that appear at every stage of this guide, from Dynojet ECU tuners and suspension upgrades to performance brake components and consumables like brake fluid and lubricants.
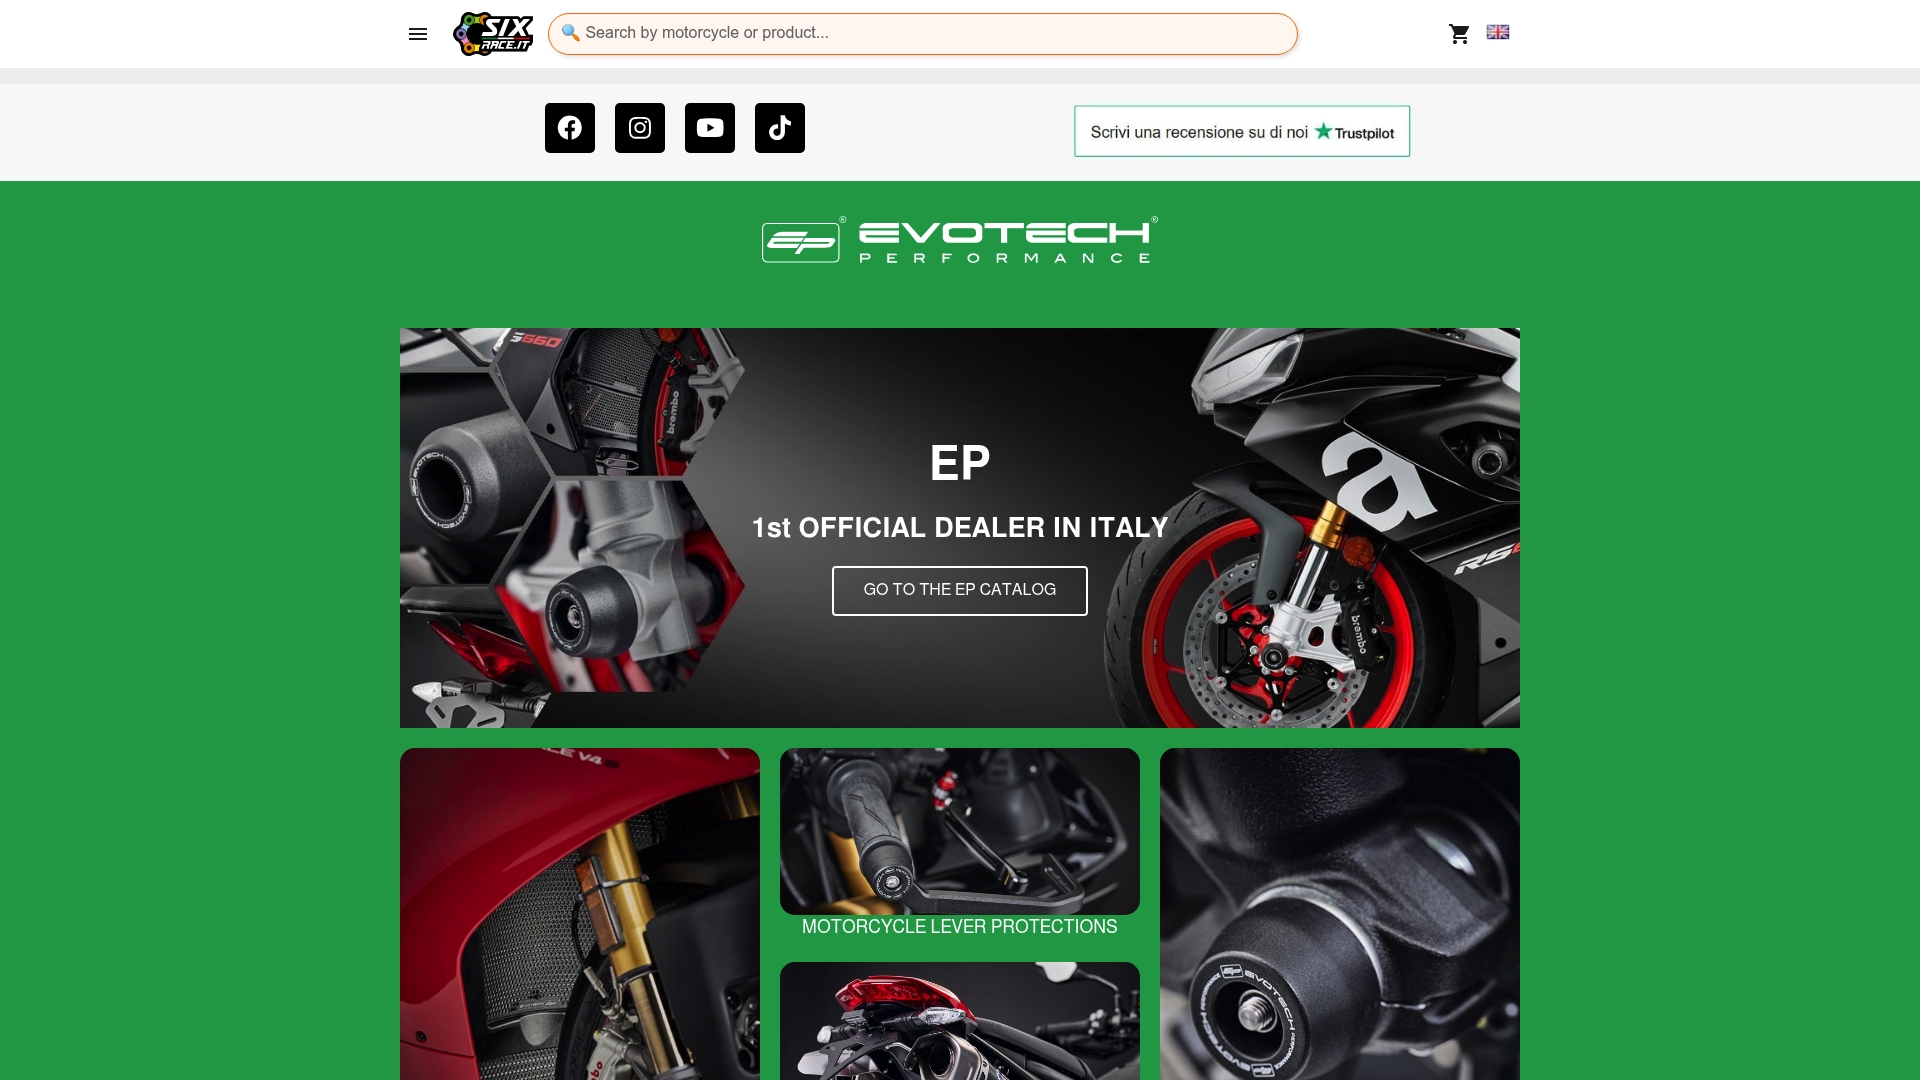
Every product in the Sixrace catalog is listed by motorcycle make, model, and year, so compatibility is confirmed before you order. The range covers brands including Dynojet, Kayaba, Evotech Performance, R&G, and HP Corse, giving you access to the same components used by professional tuners. Visit sixrace.it to find parts matched to your specific sportbike and build your tuning setup with confidence.
FAQ
What is the first step in sportbike performance tuning?
The first step is establishing a stock baseline. Reset the ECU to the factory map, record suspension sag, and document all current settings before making any adjustments.
Can I tune my sportbike without a dyno?
Yes, structured road tests on a consistent route provide useful feedback on throttle response and power delivery. A dyno gives objective horsepower figures, but disciplined road testing is a valid alternative for most street tuning.
How much does ECU remapping improve performance?
The gain depends on your hardware configuration. Bikes with aftermarket exhaust and intake systems see the largest improvements from ECU remapping, because the remap corrects the air-fuel ratio imbalance those modifications create.
What is rider sag and why does it matter?
Rider sag is the amount the suspension compresses under your weight in full riding gear. Incorrect sag cannot be fixed by damping adjustments alone, making it the mechanical foundation of any suspension tune.
Do steel braided brake lines make a real difference?
Yes. Braided lines reduce hose expansion under braking pressure, which translates all lever travel into clamping force and produces a firmer, more progressive lever feel compared to stock rubber lines.
 Italiano
 Deutsch
 Français
 Español
 English
 Polski