
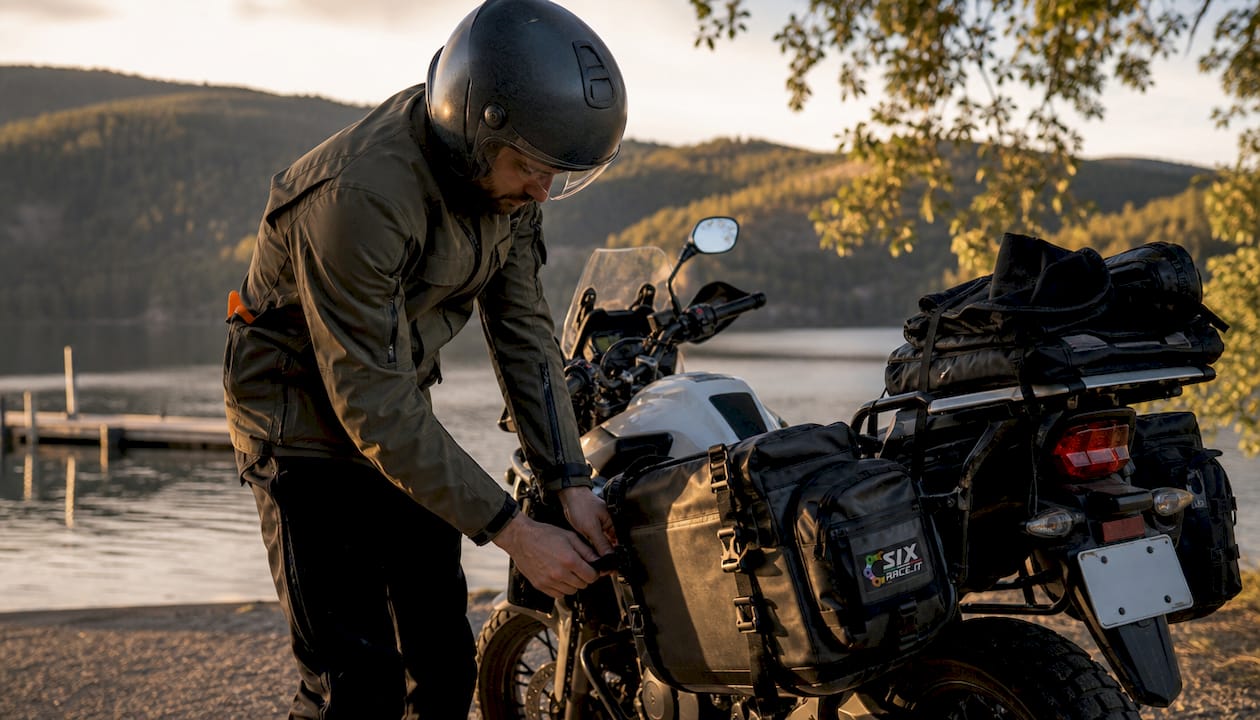
A touring motorcycle setup is defined as the systematic configuration of your motorcycle’s suspension, luggage system, and accessories to handle the demands of long-distance travel safely and comfortably. Getting this right is not optional. Poor suspension tuning with a full load causes handling instability, while badly distributed luggage raises the centre of gravity and ruins cornering geometry. This guide covers the core elements of a best touring bike setup: suspension preload and damping, load distribution, essential accessories, and mid-tour maintenance. Whether you ride a BMW R 1250 GS, a Honda Africa Twin, or a Kawasaki Versys, the same principles apply.
What is touring motorcycle setup and why does it matter?
A touring motorcycle setup is the deliberate adjustment of every system on your bike to cope with added weight, varied road conditions, and multi-day riding demands. Factory settings are calibrated for a solo rider with no luggage. Add a passenger, two panniers, and a tank bag, and you have fundamentally changed the physics of the machine.
The three pillars of any motorcycle touring setup guide are suspension tuning, luggage load distribution, and protective gear selection. Each one affects the others. Overloaded luggage forces suspension into its limits. Poorly tuned suspension makes even well-packed luggage feel unstable. Inadequate gear turns a mechanical problem into a safety crisis. Addressing all three together is what separates a competent touring configuration from a dangerous one.
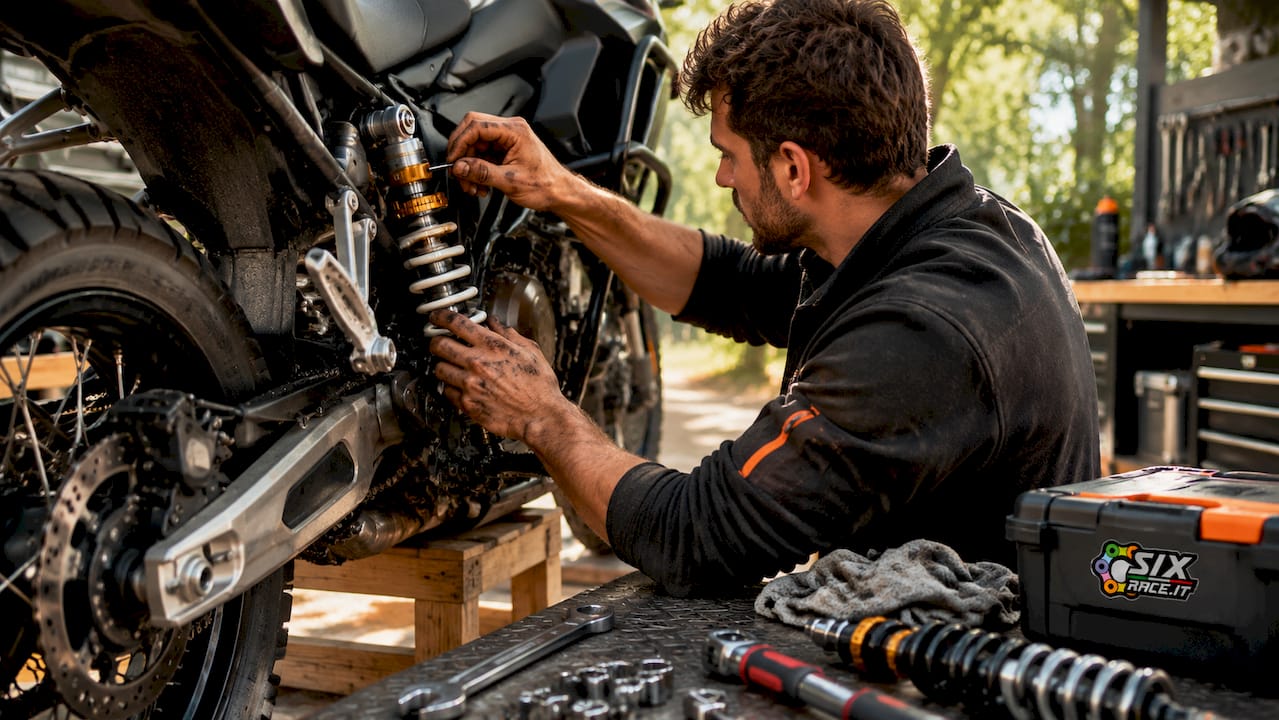
Riders who treat setup as a one-time task before departure consistently report handling problems mid-tour. Fuel load, luggage changes, and passenger weight all shift the balance of the bike over the course of a trip. A proper setup accounts for these variables from the start.
How to adjust suspension for touring with passengers and luggage
Suspension tuning is the most technically demanding part of configuring a touring motorcycle, and it is also the most frequently neglected. Riders should target a rider sag of 25–40mm on a loaded touring motorcycle to maintain correct suspension geometry. Sag outside this range means the bike either sits too high and wallows, or sits too low and bottoms out under braking.
Rear preload: where to start
Adjust rear preload first when adding a passenger or luggage, because the majority of the extra weight sits over the rear axle. Adding a passenger and substantial luggage typically requires increasing rear preload by 3–8mm to restore factory ride height. Front preload adjustment is secondary. Only 1–2mm of front preload increase is needed if the front end feels vague or light after the rear has been tuned.
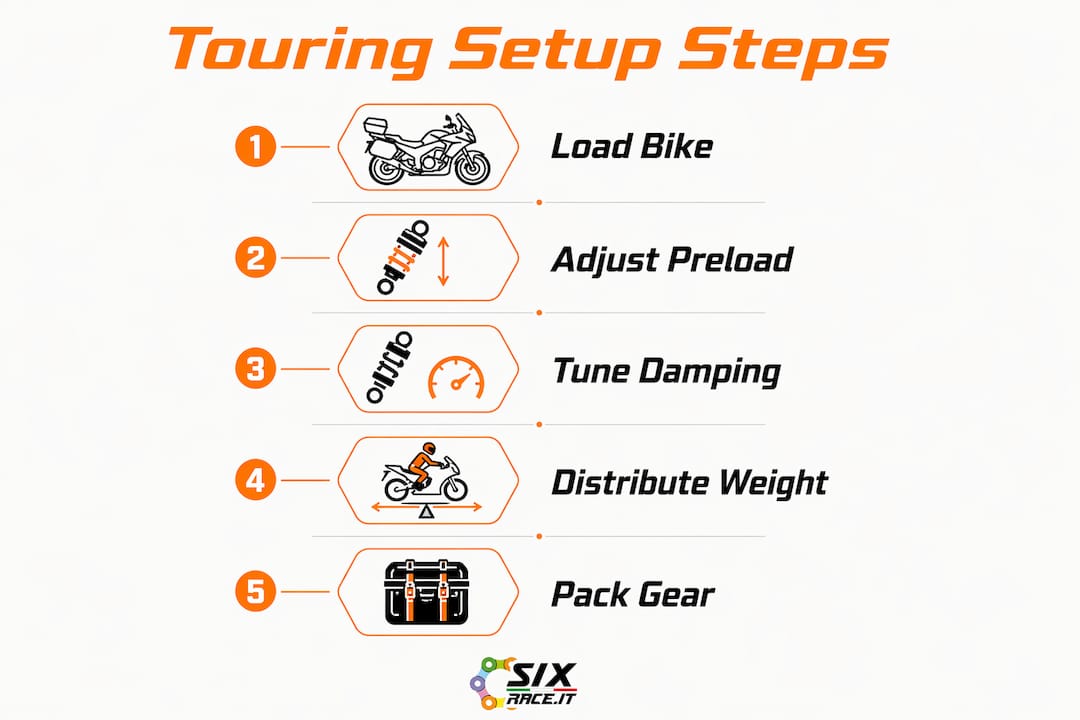
Compression and rebound damping also need attention once preload is set. Stiffer compression damping prevents the suspension from diving too quickly over bumps under load. Slower rebound damping stops the rear from kicking up after a compression event. Both adjustments are made in small increments, typically one or two clicks at a time, with a test ride between each change.
When factory springs are not enough
Maxing preload without adequate spring rates produces poor handling, not better support. A spring that cannot carry the loaded weight needs replacing, not just winding up further. Damping adjustments cannot compensate for an inadequate spring rate. Riders who tour regularly with a passenger or heavy luggage should consider aftermarket suspension kits rated for their specific load requirements.
Pro Tip: Test your full suspension setup in a car park before departure. Ride over a kerb at walking pace and count the rebounds. More than two rebounds after the kerb indicates rebound damping is too soft for your loaded weight.
How to choose luggage and distribute weight correctly
Luggage selection and load distribution directly determine how your motorcycle handles at speed and in corners. The choice between hard cases, soft panniers, tank bags, and tail bags is not purely aesthetic. Each system places weight at a different height and position on the bike, with measurable consequences for stability.
Comparing luggage systems
| Luggage type | Weight position | Weather resistance | Best use |
|---|---|---|---|
| Hard panniers | Low and wide | Excellent | Multi-week touring |
| Soft panniers | Low and wide | Moderate (use dry bags) | Flexible, lighter tours |
| Tank bag | Low and central | Good | Daily essentials, maps |
| Tail bag | High and rear | Moderate | Light, infrequent-use items |
| Top case | High and central | Excellent | Helmets, quick-access gear |
Placing roughly 60% of luggage weight in the lowest, forward section of side panniers maintains chassis geometry and preserves handling. That figure is not arbitrary. Weight placed high on a tail rack raises the centre of gravity, stresses the rear suspension, and reduces front-wheel contact pressure in corners.
Packing order and waterproofing
Pack by weight first, then by frequency of use. Heavy items such as tools, spare parts, and camping equipment go low and close to the bike’s centreline. Clothing and lighter items fill the upper sections. Items you need at every stop, such as a rain suit or wallet, go in the most accessible compartment.
Experienced long-distance riders prioritise modular, water-resistant luggage systems that separate frequently accessed gear from waterproofed panniers. Using dry bags inside soft panniers adds a second layer of waterproofing without replacing the luggage system entirely. This approach costs very little and protects electronics, documents, and clothing reliably.
A top case adds weight higher on the bike and requires additional suspension damping adjustment to compensate. If you use a top case, keep it for lightweight items only: helmets when parked, a rain jacket, or a first aid kit. Never use it as overflow storage for heavy gear.
Pro Tip: Before packing, weigh each pannier on bathroom scales. The difference between left and right should be under 1kg. Asymmetric loading causes the bike to pull to one side under braking and in slow-speed manoeuvres.
You can browse a full range of motorcycle bags online at Sixrace, with options matched by bike model to confirm fitment before purchase.
Essential touring motorcycle accessories for comfort and safety
Touring motorcycle gear extends well beyond luggage. The right accessories protect you, keep you connected, and give you the means to handle mechanical problems far from a workshop.
Protective gear
- Helmet: A full-face or modular helmet with ECE 22.06 certification provides the baseline standard for touring. Modular designs allow easier communication and eating at stops without full removal.
- Jacket: CE Level 2 armoured jackets with a thermal liner and waterproof membrane cover the widest range of conditions. A jacket without CE Level 2 back and shoulder armour is not adequate for touring speeds.
- Gloves: Gauntlet-style gloves with CE Level 1 or Level 2 knuckle protection and a waterproof membrane prevent fatigue and protect against wind chill on long days.
- Boots: Ankle-protecting touring boots with oil-resistant soles and CE certification reduce injury risk in a low-speed drop. Casual footwear is not a substitute.
- Overpants: Waterproof motorcycle overpants with CE armour at the knee and hip complete the protective system.
Navigation and communication
Navigation is best handled with vibration-dampening phone mounts or dedicated smart riding displays. Standard rigid mounts transmit engine vibration directly to a phone’s optical image stabiliser, which causes camera and sensor damage over time. A water-resistant mount such as those available from iMore.cz protects the device and keeps the screen readable in rain. Mesh intercom systems allow group communication without hand signals, which is particularly useful on motorways and in urban traffic.
Self-rescue kit
A compact toolkit, first aid kit, jump starter, and tyre repair kit are the minimum self-rescue equipment for any tour beyond day-trip distance. The toolkit should remain under 2kg for practicality. A portable jump starter small enough to fit in a jacket pocket handles flat battery situations without requiring another vehicle.
How to maintain your setup during a long tour
A touring setup is not static. Fuel load, luggage changes, and passenger presence all shift the bike’s weight distribution and suspension demands throughout a trip.
-
Check sag every two to three days. Measure rider sag with full gear and luggage at each major stop. Sag that has drifted outside the 25–40mm target needs a preload correction before the next riding day.
-
Adjust tyre pressures to full-load manufacturer specifications. Failure to increase tyre pressure for heavy payloads causes rapid heat build-up and risks rim damage on rough roads. Check pressures cold, every morning.
-
Document your settings. Recording preload settings for different load configurations allows quick readjustment when luggage or passenger weight changes mid-tour. A small notebook or a notes app works equally well.
-
Run a pre-ride T-CLOCS inspection daily. T-CLOCS covers Tyres and wheels, Controls, Lights and electrics, Oil and fluids, Chassis, and Stands. This standard pre-ride check catches developing faults before they become roadside failures.
-
Rebalance luggage after restocking. Buying food, fuel canisters, or souvenirs changes your load distribution. Recheck pannier weights and repack if the asymmetry exceeds 1kg.
Key takeaways
A correct touring motorcycle setup requires suspension tuning, precise load distribution, and appropriate protective gear working together to maintain chassis geometry and rider safety across varied conditions.
| Point | Details |
|---|---|
| Target rider sag of 25–40mm | Measure sag with full load and adjust rear preload before front. |
| Place 60% of weight low and forward | Heavy items belong in the lower, forward section of panniers, not on a tail rack. |
| Upgrade springs if preload maxes out | Damping adjustments cannot replace an inadequate spring rate under touring loads. |
| Check tyre pressures daily | Use full-load manufacturer specifications to prevent heat build-up and rim damage. |
| Document suspension settings | Recording preload configurations allows fast readjustment as loads change mid-tour. |
Why most riders get their touring setup wrong
I have ridden with a lot of touring riders over the years, and the single most common mistake is not the suspension. It is the tail rack. Riders stack a large top case on a high tail rack, fill it with camping gear, and then wonder why the bike feels nervous in fast corners or wallows on motorway sweepers. The physics are straightforward: weight that high and that far back acts as a pendulum. The bike is fighting it constantly.
The second mistake is treating setup as a pre-departure checklist rather than an ongoing process. Suspension settings that felt right on day one will feel wrong by day five, because the fuel tank is lighter, the food supplies are gone, and you have added three kilograms of local pottery to the left pannier. Riders who check and adjust mid-tour consistently report a more confident, less fatiguing experience.
My honest recommendation is to do a full loaded test ride of at least 50km before any major tour. Ride over speed bumps, take some roundabouts at pace, and brake hard in a safe area. If anything feels wrong, fix it before you leave. A suspension upgrade checklist is a useful reference if you are unsure where to start with component selection. The time you spend on setup is always less than the time you lose to a mid-tour mechanical problem or a handling scare.
— Matteo
Touring parts and accessories at Sixrace
Sixrace stocks a carefully organised range of components for riders building or refining a touring setup, from rear suspension units and fork revision kits to motorcycle bags and protective accessories. Every product in the catalogue is matched by make, model, and year, so compatibility is confirmed before you buy.
Sixrace works with established manufacturers including Evotech Performance, R&G, Gilles Tooling, Kayaba, and Gaerne, covering the full range of touring needs from chassis protection to rider gear. If you are equipping a Honda, BMW, Kawasaki, or any other touring platform, the Sixrace accessories catalogue covers the components that matter most. Use the reserved discount available at Sixrace’s discount page to reduce the cost of your next setup upgrade.
FAQ
What is the correct rider sag for a loaded touring motorcycle?
Rider sag on a loaded touring motorcycle should measure 25–40mm. Sag outside this range compromises suspension geometry and handling stability.
Should I adjust front or rear preload first when adding luggage?
Adjust rear preload first, as most of the added weight from luggage and a passenger sits over the rear axle. Front preload adjustment of 1–2mm is only needed if the front end feels vague after the rear is tuned.
How do I stop my touring luggage from affecting handling?
Place roughly 60% of your luggage weight low and forward in side panniers, keep the top case light, and balance left and right panniers to within 1kg of each other. This preserves the bike’s centre of gravity and cornering geometry.
How often should I check tyre pressures during a tour?
Check tyre pressures cold every morning and use the manufacturer’s full-load specification. Failure to increase pressure for heavy payloads causes heat build-up and risks rim damage, particularly on rough roads.
What is the minimum self-rescue kit for motorcycle touring?
Carry a compact toolkit under 2kg, a first aid kit, a portable jump starter, and a tyre repair kit. These four items cover the most common roadside emergencies on tours beyond day-trip distance.
 Italiano
 Deutsch
 Français
 Español
 English
 Polski