
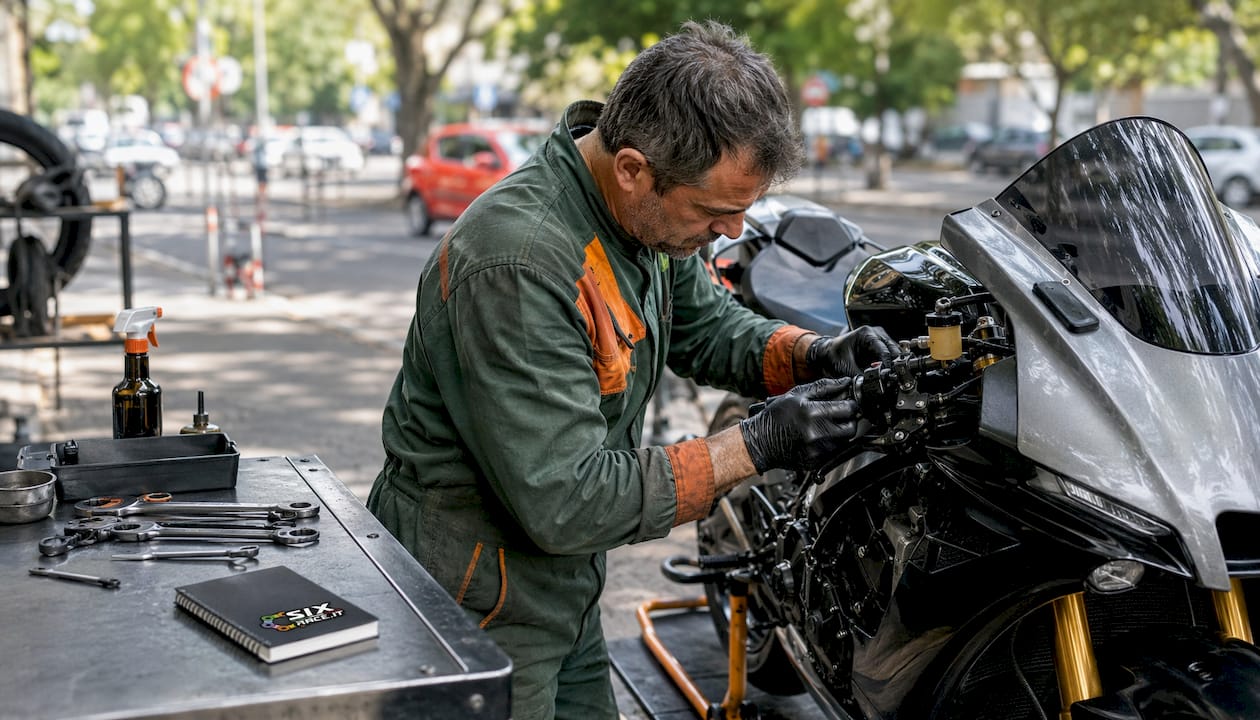
For street and touring use, choose a master cylinder with a piston bore that keeps your leverage ratio within the optimal 20:1 to 27:1 range (total caliper piston area ÷ master cylinder piston area). For sport and track riding, a radial master cylinder delivers a more linear, direct lever feel by eliminating the pivot friction inherent in axial designs, though it does not automatically increase raw stopping power. The install sequence, in brief: select a compatible part, verify clearances, remove the old unit, fit the new one with fresh crush washers and banjo bolts torqued to manufacturer spec, pre-fill the system, bleed thoroughly, adjust lever reach, then complete a staged road test.
Safety notice: Master cylinders are safety-critical components. Use only the brake fluid type specified for your system, commonly DOT 4 or DOT 5.1. Never mix glycol-based DOT fluids with silicone-based DOT 5. Keep your bike’s service manual and a torque wrench to hand throughout. If you are not confident in any stage of this procedure, have the work carried out by a qualified mechanic. Brembo recommends professional installation to protect both warranty and safety.
Table of Contents
- How do you choose the right upgraded master cylinder?
- What parts and tools do you need before starting the swap?
- Full step-by-step installation: from removal to pre-bleed
- How should you bleed the brakes and which fluid should you use?
- How do you adjust lever feel and test the system safely?
- What are the most common problems after a master cylinder upgrade?
- Where should you buy verified-fit master cylinders in Central Europe?
- Key takeaways
- Why the leverage ratio matters more than the brand name
- Sixrace: verified-fit brake kits with EU shipping and a reserved discount
- Useful sources and references
How do you choose the right upgraded master cylinder?
The first decision is orientation: axial or radial. In an axial master cylinder, the piston moves parallel to the handlebar, transmitting force through a pivot that introduces a small degree of friction and mechanical flex. A radial master cylinder orients the piston perpendicular to the bar, so lever input travels directly into the piston with minimal friction loss. The practical result is a more linear, precise braking feel — better modulation under hard braking. Radial units are standard on premium machines such as the Ducati Panigale V4 S and Triumph Street Triple RS for exactly this reason.
What a radial upgrade does not do is increase raw stopping force. As Motorcyclist Online explains, the perceived improvement comes from reduced component flex and better control, not from greater caliper clamping force. Riders often interpret sharper modulation as stronger brakes. That distinction matters when you are setting a budget.
Calculating the correct piston bore
The leverage ratio formula is the foundation of any master cylinder selection:
Total caliper piston area ÷ master cylinder piston area = leverage ratio
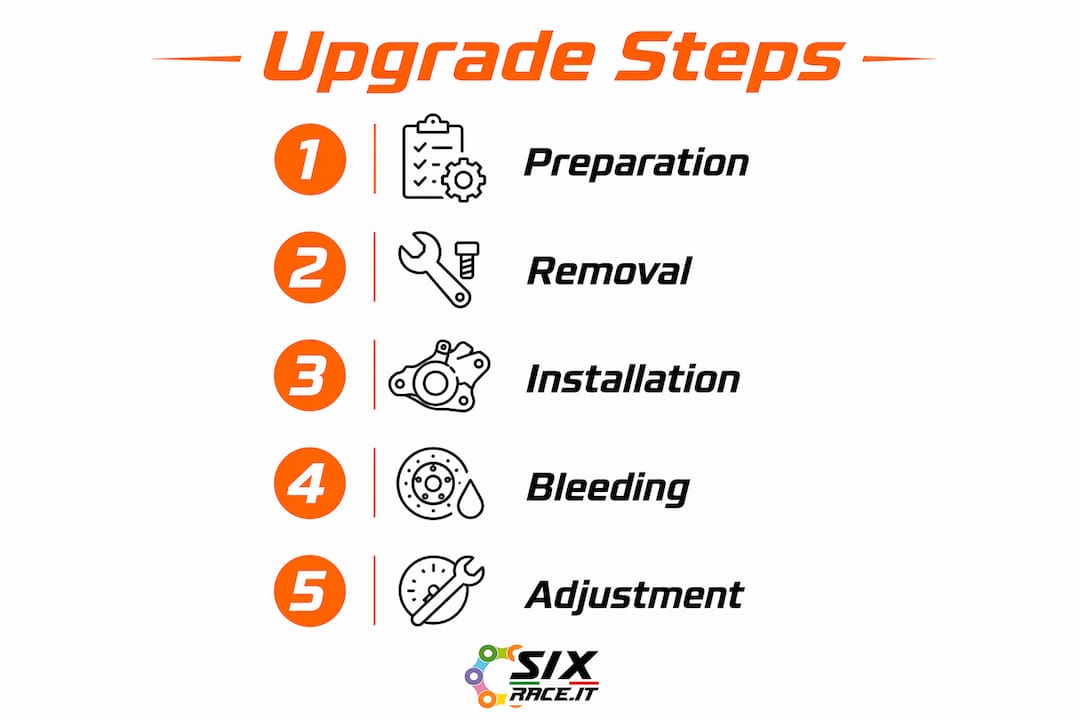
For street use, target a leverage ratio between 20:1 and 27:1 to balance firm lever feel and adequate travel; ratios too low (below 20:1) produce a very firm, short lever stroke suited to racing; ratios too high (above 27:1) result in a long and vague lever feel. Caliper piston area is calculated as: 0.14 × (piston diameter ÷ 2)² for each piston, then summed across all pistons on the front circuit.
A larger master cylinder bore is not always an improvement. Increasing bore size raises lever effort and reduces travel, which can exceed a rider’s hand strength or produce a brake that feels wooden and difficult to modulate. Match the bore to your caliper specification and riding style, not to the largest available option.
Compatibility checklist before you buy
- Mounting type: confirm axial (handlebar clamp) or radial (fork-leg bracket) fitment for your bike.
- Banjo fitting: check banjo bolt thread size, banjo angle, and whether an offset adapter is required. Conversion projects frequently need banjo-offset adapters to achieve correct line routing without modifying brake hoses.
- Lever reach and centre distance: measure the distance from bar centre to lever pivot; confirm the new unit’s adjustment range covers your hand size.
- Reservoir clearance at full lock: physically check that the reservoir clears the fairing, screen, and mirror at both full left and full right lock before ordering.
- ABS and pressure sensor compatibility: some ABS systems require a specific port or sensor thread; verify with the parts fiche or service manual.
- Caliper piston area and pad type: confirm the leverage ratio calculation before finalising bore size.
Pro Tip: Decode your OEM part number using your bike’s parts fiche, then cross-reference it against the Sixrace compatibility filter (make, model, year) and the new part’s technical sheet. When in doubt, a matched master cylinder and brake lines kit eliminates banjo-angle guesswork and ensures hose lengths are correct from the outset.
What parts and tools do you need before starting the swap?
Gathering everything before you begin prevents the most common mid-job problem: stopping with an open brake circuit because a crush washer or bleed nipple cap is missing.
Parts list
- New master cylinder (or complete kit including lever and reservoir)
- Correct crush washers for each banjo bolt (always replace; never reuse)
- Fresh DOT 4 or DOT 5.1 brake fluid, quantity per your service manual
- Banjo bolts (replace if corroded or if the new unit specifies different thread)
- Banjo-offset adapter if required for your conversion
- New reservoir cap seal if not supplied with the unit
- Fresh brake pads if you plan to retract caliper pistons during the job
Tools
- Torque wrench with appropriate metric sockets
- Line spanner (flare-nut spanner) to avoid rounding bleed nipples
- Syringe and soft hose for removing old fluid from the reservoir
- Bleed kit: either a two-person manual kit, a vacuum/hand pump, or a pressure bleeder
- Clear hose and catch bottle for expelled fluid
- Workshop stand to keep the bike level and stable
- Protective gloves and eye protection throughout
Safety and environmental items
- Masking tape and lint-free rags to protect painted surfaces
- Sealable container for used brake fluid
- Brake fluid is classified as hazardous waste in most Central European countries; dispose of it at a designated collection point, not in general waste.
Pro Tip: Lay a sheet of cling film over the fuel tank and fairing before opening any brake line. DOT fluid strips paint almost instantly on contact. Having a spray bottle of clean water nearby lets you flush any spill immediately.
Full step-by-step installation: from removal to pre-bleed
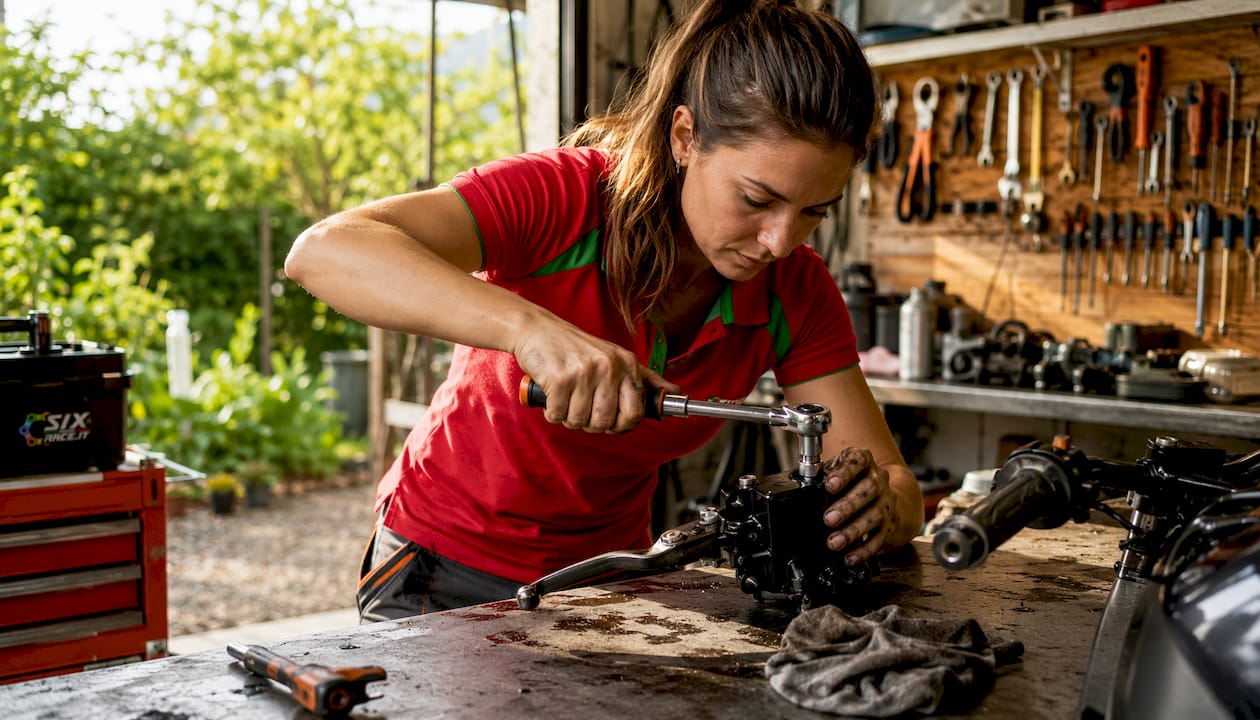
Pre-job checks
Before touching a spanner, bench-fit the new master cylinder. Confirm lever reach adjustment, reservoir orientation, and banjo port angle against your bike’s geometry. Check reservoir clearance at full lock now, not after the unit is bolted on. Consult your service manual for the torque specification for the banjo bolts and master cylinder clamp bolts; never use generic torque figures — manufacturer values differ by model and bolt grade.
Removal of the old master cylinder
- Protect the fuel tank, fairing panels, and any painted surface with masking tape and rags.
- Use a syringe to remove as much fluid as possible from the reservoir — this reduces spillage when the banjo is disconnected.
- Loosen the banjo bolt(s) slowly; have a rag ready to catch residual fluid.
- Once the banjo is free, cap the brake line immediately with a clean bolt or rubber cap to prevent air and contamination entering the system.
- Remove the lever, then unbolt the master cylinder clamp from the handlebar, noting the position of the switchgear and mirror relative to the clamp.
Fitting the new master cylinder
- Fit new crush washers to the banjo bolt — one on each side of the banjo fitting. Never reuse old crush washers; they deform on first use and will leak if reused.
- Position the master cylinder on the bar, aligning switchgear and mirror clearance before tightening the clamp bolts. Torque to manufacturer specification, tightening the upper clamp bolt first, then the lower.
- Route the brake line and thread the banjo bolt by hand to confirm it seats squarely, then torque to manufacturer specification.
- Orient the reservoir so the cap is accessible and the unit sits level when the bike is on its stand.
Pre-fill trick: With the new master cylinder fitted but the reservoir cap off, push the caliper pistons gently outward using the old master cylinder or a bleed syringe connected to the caliper bleed nipple. This forces fluid up into the new reservoir and displaces air from the lower portion of the circuit before a full bleed begins. Practitioners report this significantly reduces the number of bleed strokes needed, though care is required to move pistons evenly and avoid pushing them out of the caliper bore.
Final pre-bleed checks
- Confirm banjo bolt orientation is correct and the line is not kinked or under tension.
- Check reservoir clearance at full lock on both sides.
- Verify lever pivot pin is correctly seated and the lever returns freely.
- Photograph the banjo bolt, crush washers, and reservoir position for your service records.
How should you bleed the brakes and which fluid should you use?
Fluid rules
Use only the fluid type specified in your bike’s service manual, typically DOT 4 or DOT 5.1. Both are glycol-based and are miscible with each other, but never introduce silicone-based DOT 5 into a system designed for glycol fluid. The two are not compatible and the resulting mixture can cause seal degradation and unpredictable brake behaviour. When changing fluid type within the glycol family (e.g. from DOT 4 to DOT 5.1), flush the system completely before refilling.
DOT fluids are hygroscopic: they absorb moisture from the atmosphere over time, which lowers the fluid’s boiling point and can cause vapour lock under sustained hard braking. For Central European riding conditions, where summer track days and mountain passes are common, replacing brake fluid at the interval specified in your service manual is a straightforward way to maintain consistent brake performance.
Bleeding methods compared
| Method | Pros | Cons | Best for |
|---|---|---|---|
| Manual two-person bleed | No equipment needed, good feel for lever pressure | Requires a helper, slower | General use, first bleed after install |
| Vacuum/hand pump | Solo operation, fast for small air pockets | Can draw air past bleed nipple threads | Top-up bleeds, minor air removal |
| Pressure bleeder | Fast, consistent, solo | Equipment cost, risk of overfilling reservoir | Full system flush, ABS-equipped bikes |
| Reverse (back-fill) bleed | Pushes air upward naturally, very effective | Requires correct adapter, care with pistons | Post-installation, stubborn air pockets |
Step-by-step bleed sequence
- Fill the reservoir to the maximum mark with fresh fluid and refit the cap loosely.
- Begin at the caliper furthest from the master cylinder (on a single-disc front system, this is the front caliper bleed nipple).
- Attach clear hose to the bleed nipple and submerge the free end in a catch bottle containing a small amount of clean fluid — this prevents air being drawn back.
- Open the bleed nipple a quarter-turn, pump the lever slowly and steadily, then close the nipple before releasing the lever. Repeat until no bubbles appear in the clear hose.
- Keep the reservoir topped up throughout; never allow it to run dry or you will introduce air from the top of the circuit.
- Once fluid runs clear and bubble-free, close the bleed nipple, torque to manufacturer specification, and check lever feel.
- For ABS-equipped bikes, follow the manufacturer’s ABS-specific bleed procedure — some systems require a diagnostic tool to cycle the ABS pump.
Pro Tip: If the lever remains spongy after several bleed cycles, tap the brake line and caliper body gently with a rubber mallet while the bleed nipple is open. Stubborn micro-bubbles often cling to internal surfaces and release with light vibration. Watch the reservoir for any sudden rise in fluid level, which indicates a pocket has broken free.
How do you adjust lever feel and test the system safely?
Lever reach and preload
Most aftermarket master cylinders include a reach adjuster that moves the lever blade closer to or further from the bar. Set it so your index and middle fingers can apply full lever pressure without your hand shifting position on the grip. Free-play at the lever tip should be minimal but present; a lever that contacts the piston immediately with no free-play can cause brake drag. If the adjustment range of the new unit does not suit your hand size, a different lever blade or perch adapter resolves this without compromising the hydraulic setup.
Staged test plan
- Static leak check: with the bike on its stand, apply firm lever pressure and hold for 30 seconds. No fluid should appear at the banjo joints, reservoir cap, or bleed nipples.
- Brake light check: confirm the brake light activates correctly at the point of lever engagement; a pressure switch fault will be apparent here.
- First low-speed stop: in a clear, flat area, ride at walking pace and apply the front brake to a full stop. The lever should feel firm and progressive with no sponginess.
- Progressive intensity stops: from 30 km/h, then 50 km/h, apply progressively firmer braking. Note any change in lever feel, fade, or pulling to one side.
- Bedding-in: complete a series of 8–10 controlled stops from 60 km/h, allowing the disc and pads to cool between each stop. Avoid a full emergency stop during bedding-in; the goal is to transfer a thin, even layer of pad material to the disc surface. Expect bite to improve progressively over the first 50–100 km.
Final sign-off checklist
- No fluid leaks at any joint after the test ride.
- Consistent lever travel with no sponginess or fade.
- Brake light operates correctly.
- Mirror and fairing clearance confirmed at full lock in both directions.
- Lever reach set to rider preference and lock-nut tightened.
Pro Tip: Re-check banjo bolt torque and bleed nipple torque after the first 50–100 km. Thermal cycling from the first rides can cause minor settling at the crush washers, and a brief re-torque at this stage is good workshop practice.
What are the most common problems after a master cylinder upgrade?
Symptom, cause, and remedy
| Symptom | Likely cause | Remedy |
|---|---|---|
| Spongy lever | Air in the system or incorrect fluid | Re-bleed; flush and refill with correct fluid |
| Very firm lever, short travel | Master cylinder bore too large for caliper area | Recalculate leverage ratio; fit correct bore |
| Fluid leak at banjo | Crush washers reused or undertorqued | Replace crush washers; torque to spec |
| Brake light stays on | Pressure switch fault or switch not reconnected | Check switch wiring and pressure sensor thread |
| Uneven or grabby bite | Caliper piston sticking or contaminated pads | Service caliper; replace pads if contaminated |
| Lever returns slowly | Lever pivot binding or incorrect spring | Clean and lubricate pivot; check spring seating |
Safety red flags: stop riding immediately if you notice
- Fluid dripping from any joint after the static check or during riding.
- Sudden loss of lever pressure or a lever that reaches the bar.
- Persistent brake fade that does not recover after cooling.
- Any grinding, pulling, or locking sensation under normal braking.
These symptoms indicate a fault that requires the bike to be taken off the road and inspected before further use.
Diagnosing stubborn air pockets
Tiny air pockets that resist standard bleeding are often trapped at the master cylinder inlet or in a high point of the brake line. With the reservoir cap removed, pump the lever slowly and watch the reservoir surface. Small bubbles rising to the surface confirm air is still moving through the system; continue bleeding until the surface remains still under pumping. Re-check banjo bolt torque and crush washer condition if bubbles persist after multiple bleed sessions.
Where should you buy verified-fit master cylinders in Central Europe?
Using compatibility tools effectively
Before placing any order, confirm fitment using the supplier’s make/model/year filter. A master cylinder listed as “universal” requires you to verify the leverage ratio calculation, banjo thread size, and reservoir orientation yourself. A part listed against your specific bike year and model has already been matched by the supplier, which reduces the risk of a costly return. Always cross-reference the parts fiche from your service manual against the supplier’s product listing.
Brands worth specifying
Brembo is the benchmark for aftermarket master cylinders in Central Europe. Their radial units, such as the RCS series, are used as OEM equipment on a wide range of European and Japanese sport bikes, and the installation guidance is thorough. Fitment data and torque specifications are available through their technical documentation, and genuine Brembo parts carry a manufacturer warranty.
Evotech Performance produces matched brake system accessories and protection components designed for specific bike models. Their motorcycle accessories range includes reservoir guards, lever protectors, and bracket solutions that complement a master cylinder upgrade without requiring fabrication.
When a conversion requires banjo-offset adapters, different reservoir orientations, or a bracket to mount a radial unit on axial fork legs, buying a matched kit rather than sourcing individual components separately reduces the risk of incompatibility and simplifies the bleed procedure.
Buying through Sixrace
Sixrace stocks brake pumps, revision kits, brake fluid, and brake accessories including banjo adapters and reservoir caps, all filterable by make, model, and year. EU-based shipping, multilingual support, and secure payment make it a practical first stop for Central European riders. Retain your purchase invoice and any installation records; manufacturers commonly require proof of purchase and correct installation to validate warranty claims.
Pro Tip: If your bike is a popular Central European model (BMW GS series, KTM Adventure, Honda CB range), check whether a matched pump and caliper kit is available. A balanced system upgrade eliminates the leverage-ratio calculation entirely and ensures every hydraulic component is specified to work together.
Key takeaways
Upgrading a motorcycle master cylinder delivers measurable gains in brake modulation and feel when the piston bore is correctly matched to caliper area within the 20:1–27:1 leverage ratio range, and the installation follows a disciplined bleed and test sequence.
| Point | Details |
|---|---|
| Leverage ratio target | For street use, target a leverage ratio between 20:1 and 27:1 (total caliper piston area ÷ master cylinder piston area). |
| Axial vs radial choice | Radial units give more linear feel and better modulation; axial units are cheaper and suit most street setups. |
| Fluid discipline | Use DOT 4 or DOT 5.1 as specified; never mix glycol and silicone fluids; flush fully when changing type. |
| Staged testing | Complete static, low-speed, and progressive-intensity checks before bedding in pads over 50–100 km. |
| Sixrace fitment tools | Use Sixrace’s make/model/year filters to confirm compatibility before ordering master cylinders or matched kits. |
Why the leverage ratio matters more than the brand name
The most common mistake riders make when upgrading a master cylinder is choosing a part by brand recognition rather than by system matching. A Brembo RCS 19 is an excellent component, but fitted to a bike with twin four-piston calipers that require a 16 mm bore to stay within the 20:1–27:1 range, it will produce a lever that feels wooden and requires disproportionate effort. The upgrade feels worse than the OEM part, and the rider concludes that aftermarket components are overrated.
The leverage ratio calculation takes five minutes with a calliper and a calculator. Skipping it is the single most avoidable error in a master cylinder swap. Radial orientation, adjustable reach, and quality seals all contribute to the final result, but none of them compensate for a bore that is mismatched to the caliper circuit.
There is also a tendency to underestimate how much of the perceived improvement from a quality master cylinder comes from the bleed quality rather than the component itself. A correctly bled standard master cylinder often feels noticeably better than a premium unit with residual air in the system. The bleed procedure is not a formality at the end of the job; it is half the job.
For Central European riders who use their bikes across a range of conditions, from Alpine passes to motorway touring, the combination of correct bore sizing, a thorough bleed, and a staged test plan delivers consistent, predictable braking that no amount of brand prestige can substitute for.
Sixrace: verified-fit brake kits with EU shipping and a reserved discount
Sixrace is a European specialist in motorcycle aftermarket parts, stocking the full range of components you need for a master cylinder upgrade: radial and axial brake pumps, matched master cylinder and brake line kits, DOT 4 and DOT 5.1 fluids, crush washers, banjo adapters, and revision kits, all searchable by make, model, and year. Brands including Brembo and Evotech Performance are available with EU-standard shipping, multilingual support, and tracked delivery to Central Europe.
Every product listing includes compatibility data so you can confirm fitment before checkout, and the Sixrace team can assist with technical queries. Retain your order confirmation as part of your installation record for warranty purposes. Claim your reserved discount on motorcycle brake components and accessories at the Sixrace discount page and complete your upgrade with verified-fit parts.
Useful sources and references
The following primary sources and technical references underpin the guidance in this article. Consult them directly for torque specifications, piston-area tables, and ABS-specific bleed procedures relevant to your bike.
- The art of leverage ratio — detailed explanation of the leverage-ratio formula and the 20:1–27:1 street target range.
- Brembo technical overview — axial vs radial master cylinder orientation, system matching, and installation guidance.
- Brembo parts installation and warnings — brake fluid rules, bleed procedures, warranty requirements, and the recommendation for professional installation.
- Brembo instructions for replacement of brake pumps — manufacturer bleed order and torque guidance; use alongside your bike’s service manual.
- Master cylinder sizing guidance — TBM Brakes — bore size trade-offs: lever effort vs travel, and why larger is not always better.
- Radial motorcycle brakes explained — Motorcyclist Online — clarifies the distinction between perceived braking improvement and actual stopping force.
- KTM Forum — 1090 R radial pump conversion — practitioner notes on the back-fill trick and bleeding time reduction.
- KTM Forum — Brembo RCS 19 conversion discussion — real-world notes on banjo-offset adapters and reservoir clearance for conversion projects.
- Your bike’s OEM service manual — the definitive source for torque specifications, bleed order, ABS procedures, and fluid type. No aftermarket guide supersedes it.
Keep your purchase invoice, installation date, and mileage on record. In Central Europe, warranty claims and insurance assessments for brake components commonly require documented proof of correct installation and parts origin.
 Italiano
 Deutsch
 Français
 Español
 English
 Polski