
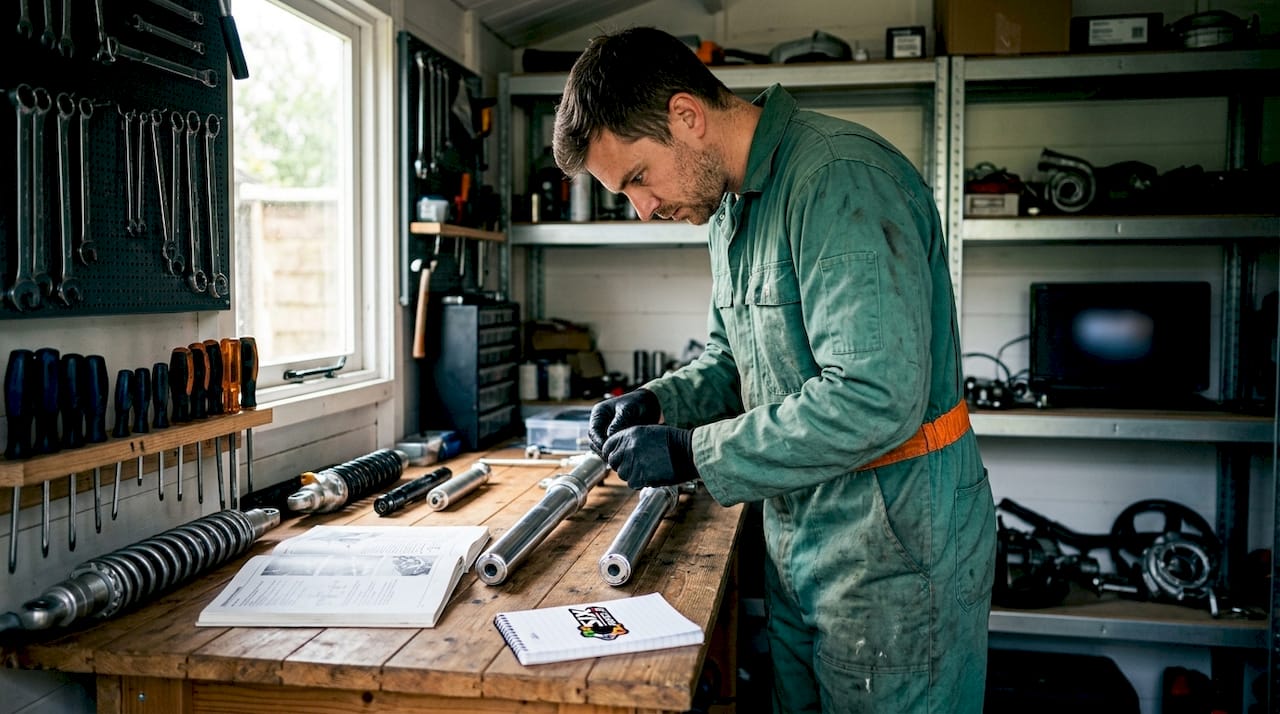
What are the best practices for upgrading motorcycle forks?
The most effective motorcycle fork upgrade best practices follow a clear sequence: set sag correctly first, select components matched to your weight and riding style, then address internal valving or cartridge upgrades only when external adjustments have been exhausted. Skipping that order is the single most common and costly mistake riders make.
Before spending money on new internals, work through this checklist:
- Set static sag to the correct range. For road riding, front sag should be in the optimal range for road riding; for track use, aim for a lower sag range appropriate for that context.
- Measure the stiction zone. If the gap between your pushed-up and pushed-down measurements exceeds 4–5mm, seals or bushings need attention before any tuning is meaningful.
- Match spring rate and preload to your weight and load. Springs and fork oil selection must reflect rider weight, riding style, and typical luggage.
- Address internal valving only after the above steps fail. A professional revalve reshims the fork to suit your specific weight, style, and road conditions.
- Verify brake and wheel alignment after any fork change. Upgraded forks can alter geometry slightly and require recalibration.
- Service fork seals and oil before tuning. Degraded oil invalidates every damping adjustment you make.
What is actually inside your motorcycle forks?
Understanding fork internals is the foundation of any informed upgrade decision. The two dominant designs are damper rod forks and cartridge forks, and they respond to upgrades very differently.
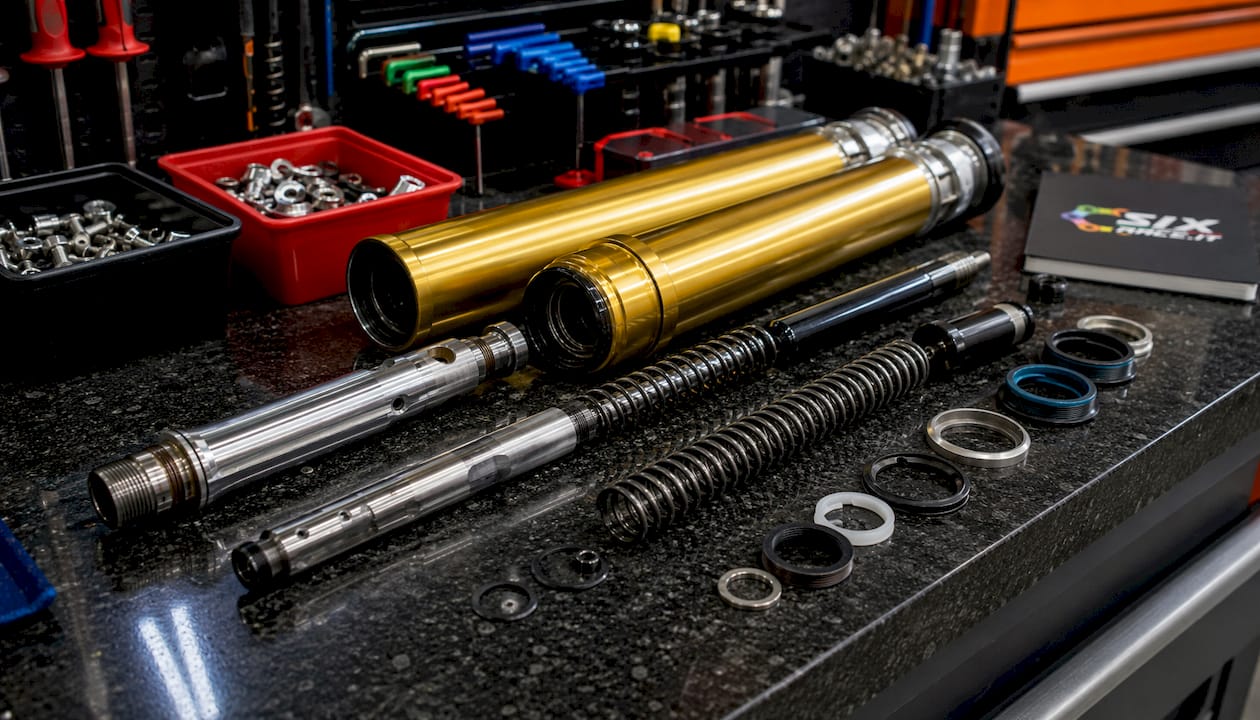
Damper rod forks use a simple rod with fixed orifices to control oil flow. They are common on older and mid-range machines, and their damping is largely speed-insensitive, meaning they can feel harsh at high shaft velocities and vague at low ones. Cartridge forks use a sealed hydraulic cartridge with a shim stack, giving far more precise and tuneable damping across the full speed range.
| Component | Function |
|---|---|
| Fork spring | Supports rider and bike weight; determines ride height and sag |
| Damper rod / cartridge | Controls the rate of compression and rebound |
| Shim stack (valving) | Regulates oil flow through the piston at varying speeds |
| Fork oil | Transmits hydraulic force; viscosity affects damping feel |
| Seals and bushings | Prevent oil leakage and reduce stiction |
| Fork cap | Retains internals; often houses preload or rebound adjusters |
Compatibility by make, model, and year matters enormously here. Inner and outer tube diameters, cartridge thread pitch, and spring guide dimensions all vary between manufacturers and generations. A spring that fits a 2018 Kawasaki Z900 will not necessarily drop into a 2022 model without modification.
Pro Tip: Before ordering any internal component, cross-reference the part number against your specific bike’s year and variant. Sixrace’s catalogue filters by make, model, and year precisely to avoid this pitfall.
Which fork upgrade option suits your riding?
Three main upgrade paths exist, and the right choice depends on your current fork type, budget, and how far the stock setup falls short.

Revalving (reshimming)
A professional revalve reshims the existing cartridge or damper rod to suit your weight, riding style, and road conditions. For the majority of road and adventure riders whose sag is correctly set but whose forks still feel harsh or prone to dive, a revalve delivers a larger improvement than any external adjustment can. It preserves OEM reliability while transforming compliance and control. The caveat: some standard cartridge forks have very crude pistons, and a piston valve kit is worth adding alongside the reshim.
Aftermarket cartridge kits
Cartridge kits replace the stock internals entirely, converting a basic damper rod fork into a fully adjustable cartridge system. Mid-range adventure and naked bikes benefit most from this upgrade, gaining independent compression and rebound adjustment that the OEM setup simply cannot offer. The performance jump is substantial, though the cost reflects it.
Spring replacement and oil change
Selecting springs matched to rider weight and pairing them with the correct fork oil viscosity is often the most cost-effective first step. Many aftermarket springs are sold at OEM length, which frequently results in excessive preload. Reducing preload to around 3mm, either by shortening the spring perch or selecting a shorter spring, produces a noticeably plusher and more controlled fork feel. Stiffer springs also use thicker wire, which can bind inside stock spring guides; checking inner diameter clearance before fitting is not optional.
Pro Tip: Stiffer springs with light preload are consistently plusher than softer springs run with heavy preload. If your forks feel wooden over small bumps, check preload before assuming the spring rate is wrong.
- USD (upside-down) fork swaps offer reduced unsprung weight and greater rigidity, but require compatible triple clamps, wheel spindles, and brake caliper mounts. They suit track-focused builds more than road touring.
- Fork oil viscosity changes are a low-cost tuning tool. Higher viscosity increases damping resistance; lower viscosity softens the response. The effect on high-speed damping is real and should be tested incrementally.
- Preload adjusters allow on-the-fly sag changes without disassembly, particularly useful for adventure riders carrying variable loads.
How to install, set up, and maintain upgraded forks correctly
Tools and workspace
A clean, well-lit workspace with a paddock stand or centre stand is the baseline requirement. The specific tools you need include:
- Torque wrench (capable of fork cap torque, typically 15–25Nm depending on model)
- Fork seal driver or appropriate tube for seal fitting
- Metric tape measure or a dedicated sag measurement tool
- Circlip pliers for internal retaining rings
- Graduated measuring cylinder for fork oil volume
- Suspension service equipment including fork clamps and bleeding tools
Setting sag: a step-by-step process
- Lift the front wheel clear of the ground and measure from the stanchion wiper to the bottom of the triple clamp. Record this as L1.
- With a rider in full gear and riding position, have an assistant push the fork down and allow it to rise slowly. Record this as L2.
- Lift the fork gently and allow it to settle slowly downward. Record this as L3.
- Calculate static sag: L1 minus the average of L2 and L3, expressed as: sag = L1 – ((L2 + L3) / 2).
- For street riding, target static sag in the range commonly recommended for street riding; for track use, aim for a lower static sag range suited to track conditions
- If the stiction zone (L2 minus L3) exceeds 4–5mm, address seals and bushings before proceeding.
Pro Tip: Dial out all compression and rebound damping before measuring sag. This reduces stiction and makes your measurements far more repeatable. Count the clicks so you can return to your previous settings immediately after.
Adjusting clickers
| Adjuster | Effect when increased | Effect when decreased |
|---|---|---|
| Preload | Raises ride height, reduces sag | Lowers ride height, increases sag |
| Compression | Slows fork compression, reduces dive | Softens fork over bumps |
| Rebound | Slows fork extension after compression | Allows faster return, can cause wallowing |
Adjust one clicker at a time and test in repeatable conditions. Making multiple changes simultaneously makes it impossible to identify what actually improved the feel.
Safety checks after installation
Upgraded forks can alter steering geometry, brake caliper alignment, and wheel tracking. After any fork change:
- Check front brake caliper alignment and pad clearance.
- Verify wheel spindle torque to manufacturer specification.
- Confirm headstock bearing preload has not changed.
- Test brake function at low speed before any road riding.
- Recheck all torque settings after the first 50km of use.
Common post-upgrade issues
- Fork diving under braking: compression damping too low, or spring rate too soft for rider weight.
- Harsh feel over small bumps: preload too high, or compression stack too aggressive for road use.
- Suspension packing on successive bumps: rebound too slow; the fork cannot extend between hits.
- Oil weeping from seals: seal not seated correctly during installation, or fork tube surface damaged.
Trusted brands for fork upgrades available through Sixrace
Sixrace stocks a carefully selected range of fork upgrade components from manufacturers with proven track records across Central European road, track, and off-road conditions. The catalogue is organised by bike make, model, and year, removing the guesswork from compatibility.
Key brands and their relevance to fork upgrades:
- Kayaba (KYB): OEM supplier to major manufacturers including Honda, Yamaha, and Kawasaki. Kayaba fork overhaul kits and Kayaba specialist tools are the reference standard for factory-spec servicing and rebuilds.
- Dynojet: Known for Power Commander units and suspension tuning products. Dynojet’s fork spring kits are calibrated for specific models and rider weight ranges.
- Evotech Performance: Produces precision-engineered protection and accessory components that complement fork upgrade projects, particularly frame sliders and engine guards that protect your investment if the bike goes down.
- R&G: Offers fork protectors and crash protection accessories that pair directly with upgraded fork assemblies, protecting stanchion tubes from stone chips and minor impacts.
- Gilles Tooling: Specialises in adjustable rearsets and handlebar components that work in conjunction with fork geometry changes, allowing full ergonomic recalibration after a USD swap.
- HealTech: Electronics and quickshifter specialist whose products integrate with suspension-modified bikes, particularly relevant when fork upgrades alter throttle and braking dynamics.
- Acerbis: Provides handguards, fork guards, and plastics for off-road and adventure applications, protecting fork tubes in demanding terrain.
- Powerbronze: Screens, huggers, and bodywork components that maintain aerodynamic balance after fork height or geometry adjustments.
- HP Corse: Exhaust systems that, when combined with suspension upgrades, contribute to a complete performance package for road and track use.
- Gaerne: Riding boots engineered for the physical demands of suspension-modified bikes, where improved feedback from upgraded forks translates directly into rider feel through the footpegs. The Gaerne SG22 motocross boot is a strong choice for off-road riders pairing fork upgrades with demanding terrain.
Sixrace’s fork overhaul kits cover a broad range of models and include seals, bushings, and oil in matched sets. For riders who prefer professional installation, the suspension service offering provides expert setup aligned with the best practices covered throughout this guide. Protective eyewear also matters when working on forks in the workshop; motorcycle eyewear from Chap’el offers a practical complement to any safety-conscious build.
Get your reserved discount on Sixrace motorcycle components
Sixrace offers a curated selection of fork upgrade components, overhaul kits, suspension oils, and accessories from the brands covered in this guide, all matched by bike make, model, and year for verified compatibility. Whether you need valve parts for internal rebuilds or a complete overhaul kit for a full fork service, the Sixrace catalogue covers the full upgrade journey from first sag measurement to final torque check.
Claim your reserved discount and shop the full range at Sixrace’s discount page.
Key takeaways
Correct sag measurement and spring selection are the foundation of every successful fork upgrade; internal valving changes only deliver their full benefit once these fundamentals are in place.
| Point | Details |
|---|---|
| Set sag before upgrading | Target 30–40mm for road riding and 25–30mm for track use before considering internal changes. |
| Check stiction zone first | A stiction zone above 4–5mm means seals or bushings need replacing before tuning. |
| Match springs to rider weight | Spring rate, oil viscosity, and preload must reflect your actual weight and typical load. |
| Revalve before replacing | A professional reshim delivers more improvement than external adjustments for most road riders. |
| Safety checks are non-negotiable | Verify brake alignment, spindle torque, and headstock bearing after any fork installation. |
 Italiano
 Deutsch
 Français
 Español
 English
 Polski