
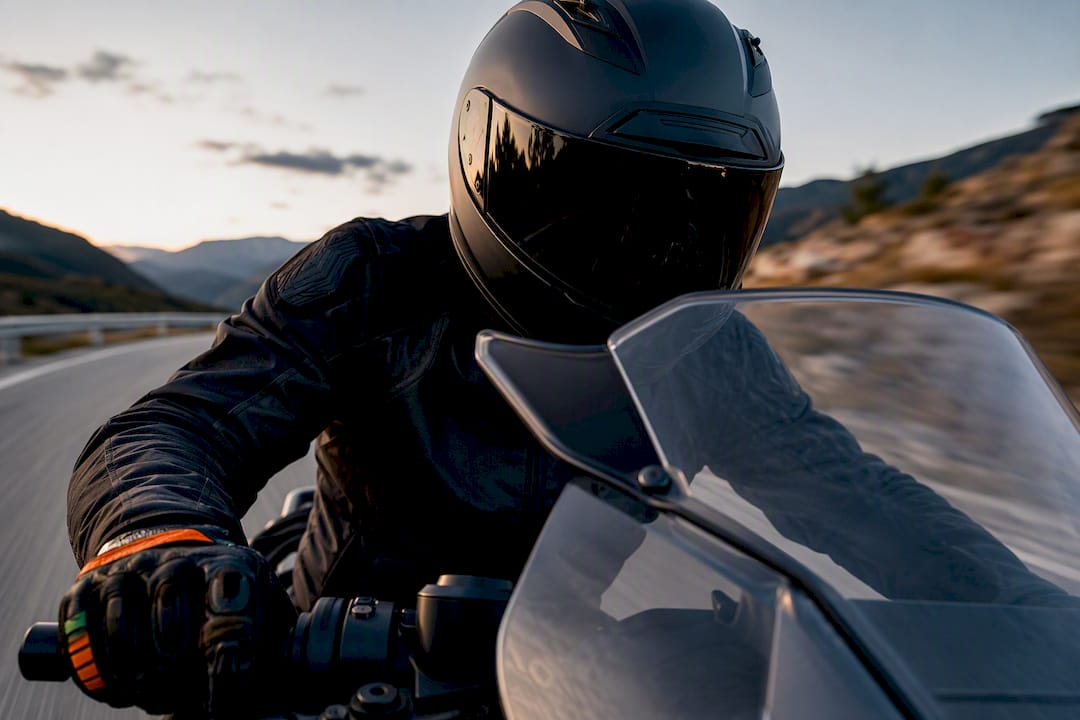
Yes, the right wind deflector, properly matched and set up, reduces helmet buffeting and improves comfort on longer rides. Air management principles, field tests from riders such as those documented by Vita di un Motociclista, and Fitment data from various sources all point the same way. The catch: fit, angle and screen height matter more than the deflector itself, and a badly chosen one can make turbulence worse, not better.
TL;DR:
- Properly matched and installed wind deflectors significantly reduce helmet buffeting and shoulder fatigue, especially on long motorway rides.
- The effectiveness depends on specific features like flips, hips, and side deflectors, which redirect airflow without blocking it, creating calmer air pockets.
- Compatibility, material quality, adjustability, and correct sizing are crucial for proper fit and performance, with model-specific options preferred over universal kits.
- Tuning deflectors on the road requires incremental adjustments at moderate speeds, monitoring for new turbulence or vibrations that indicate airflow shifts.
- Regular maintenance, including cleaning and bolt checks, helps preserve deflector performance over multiple riding seasons.
Table of Contents
- How do wind deflectors manage airflow to reduce buffeting?
- What types of deflectors exist and where do they mount?
- Do real rider tests back up the effectiveness claims?
- How do you choose the right deflector for your bike?
- How do you install and tune a deflector on the road?
- What maintenance keeps deflectors working properly?
- Which riders see the biggest improvement, and what’s the honest verdict?
- Where to find deflectors matched to your exact bike
- Sources
- FAQ
How do wind deflectors manage airflow to reduce buffeting?
A deflector’s job isn’t to block wind. It’s to redirect it, and that distinction explains why some setups feel calm at 110 km/h while others rattle your helmet at 70. Behind a tall, flat screen, air often drops into a low pressure pocket that pulls turbulent air back down onto the rider’s head. That’s the vacuum effect riders describe as “getting punched” through their visor. A properly shaped spoiler lifts and redirects the airflow so it passes cleanly over the helmet instead of curling back.
The features doing the real work are small but specific:
- Flips, the curved lip at the top edge of a screen, that throws air upward and away from the helmet
- Hips, the flared side sections that push lateral gusts outward instead of letting them wrap around the rider’s shoulders
- Side deflectors, which manage the rushes of air that sneak past the fairing edges
- Sealing and curvature, where polycarbonate screens hold a moulded shape better than flat acrylic, keeping the airflow attached longer before it separates
Design teams describe this as creating a calm air pocket around the rider’s torso and helmet, which is the actual mechanism behind reduced fatigue on long motorway stints. Understanding motorcycle wind protection in more depth helps explain why two screens that look almost identical can perform very differently.
What types of deflectors exist and where do they mount?
Deflectors aren’t a single product category. Riders typically choose from four distinct types, each solving a different airflow problem:
- Top spoilers and flip extensions clip onto the upper edge of an existing screen and lift the airflow line higher, so it clears the helmet rather than striking the chin bar.
- Side deflectors mount on the fairing flanks or lower screen edges and reduce the lateral air rushes that buffet a rider’s shoulders and elbows, especially noticeable on naked and adventure bikes without full fairings.
- Chin, fork and tube deflectors sit below the main screen and manage upwash, the turbulent air that spills up from the front wheel and forks at speed.
- Combination kits, pairing a screen, spoiler and side pieces engineered as one system, tend to outperform mixed aftermarket parts because manufacturers design and test them together rather than leaving the interaction to chance.
Touring and adventure riders usually need all three zones addressed; sport bike owners often only need a spoiler or hip extension, since fairings already handle side and lower airflow. Sixrace’s sport bike aerodynamic accessories guide breaks this down by riding style if you’re unsure which zone applies to your bike.
Do real rider tests back up the effectiveness claims?
Field reports are consistent on one point: correctly fitted deflectors reduce helmet shake and shoulder fatigue on rides over an hour. One detailed rider test from Vita di un Motociclista recorded a marked reduction in wind load on both rider and passenger after fitting a quality deflector, with no new negative effects reported on the handlebars.
What riders consistently report after a correct fit:
- Less neck strain on motorway stretches over 45 minutes
- Reduced helmet noise, since buffeting and wind roar are closely linked
- More stable visor and mirror image at speed, because a calmer air pocket means less vibration transfer
- Warmer, drier torso in cooler weather, a side effect of redirected airflow rather than blocked airflow
The limits matter just as much as the wins. Manufacturers design flips and hips specifically to create that calmer pocket, using wind-tunnel-informed shapes rather than guesswork, but a mismatched screen height or angle can push turbulence into a new position instead of removing it. Expect a modest increase in aerodynamic drag with any add-on, which can shave a small amount off fuel economy, though most riders find the comfort trade-off worthwhile on anything beyond short commutes.
How do you choose the right deflector for your bike?
Fit is the single biggest factor separating a deflector that works from one that doesn’t. Generic universal-fit pieces often sit at the wrong angle for your specific fairing geometry, which undoes the aerodynamic benefit entirely.
Work through these criteria before buying:
- Compatibility by make, model and year. A deflector engineered for your exact bike accounts for screen curvature and mounting points that generic kits ignore. Browsing Sixrace’s fairings and screens category by your bike’s specification avoids this guesswork.
- Material. Polycarbonate resists cracking and yellowing better than acrylic over several seasons of UV exposure and stone chips, though it costs more upfront.
- Adjustability. Screens or spoilers with multi-position mounts let you tune height and angle after fitting, rather than committing blind.
- Height trade-offs. Taller isn’t automatically better. A too-tall screen can create the vacuum effect described earlier, and pillion or luggage setups change the airflow pattern further back.
Pro Tip: Measure your current screen’s height and angle before ordering a replacement. Most fitment problems trace back to guessing a size rather than matching it against what’s already on the bike.
Riders new to aerodynamic add-ons generally do better starting with a tested combination kit rather than mixing brands, since matched systems remove most of the trial and error involved in getting flip and hip angles to work together.
How do you install and tune a deflector on the road?
Fitting is straightforward, but tuning is what actually determines whether buffeting goes down or shifts somewhere new.
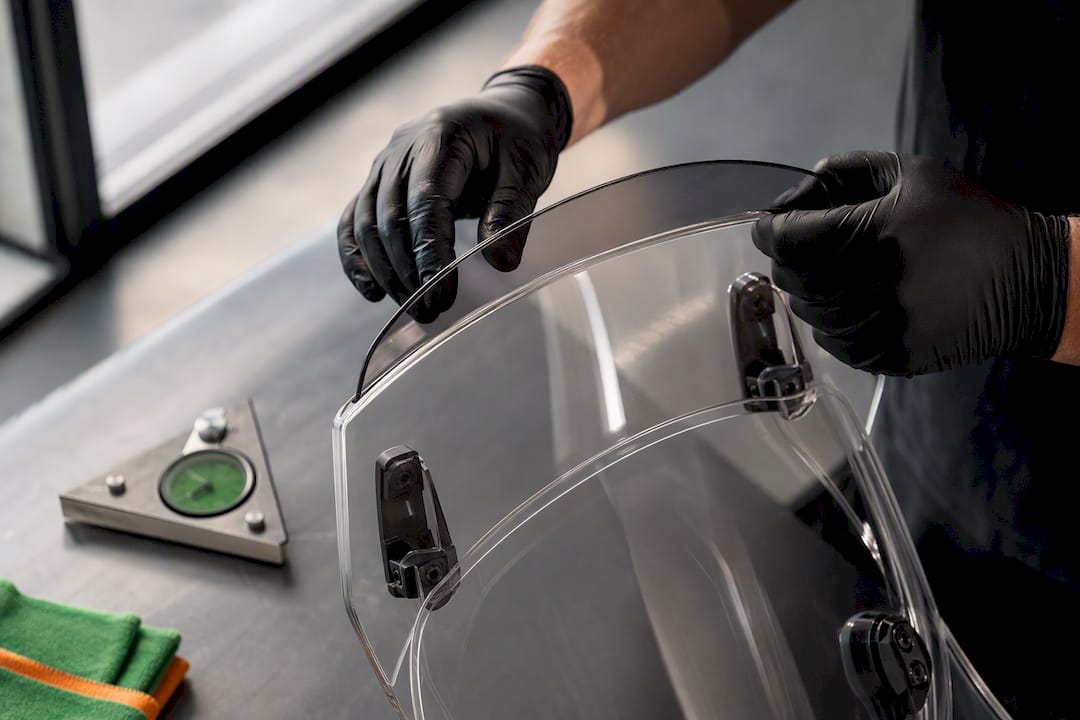
- Mount without fully tightening. Leave enough play to adjust angle before locking hardware down.
- Set a neutral starting angle, roughly matching the screen’s original rake, as a baseline.
- Test at moderate speed first, around 50 to 60 km/h, checking for helmet buffeting and mirror clarity.
- Increase speed in stages, up to your usual cruising speed, adjusting angle by small increments between runs.
- Watch for new turbulence, not just whether the old buffeting reduced. A shift in noise pitch often signals the airflow has relocated rather than calmed.
Small angle and height changes materially alter buffeting and noise, so treat the first ride as a tuning session, not a final verdict. If mirrors vibrate more than before, visibility drops, or buffeting appears at a new speed band, revert to the previous angle and reassess, or consult a fitter experienced with your fairing type.
What maintenance keeps deflectors working properly?
A deflector that worked perfectly on day one can degrade quietly over a season if you skip basic upkeep.
- Clean polycarbonate and acrylic with a dedicated plastics cleaner, never household glass cleaner, which can craze the surface and create stress points that eventually crack.
- Check mounting bolts every few thousand kilometres. Vibration loosens fixings gradually, and a loose deflector both rattles and stops sealing the airflow correctly.
- Reassess screen height if you’ve changed riding position, added a top box, or started carrying a pillion regularly, since all three alter the airflow the deflector needs to manage.
- When buying online, confirm the return window and warranty terms before fitting anything permanently, particularly for no-drill kits that rely on precise factory mounting points.
Which riders see the biggest improvement, and what’s the honest verdict?
Tourers and riders running tall aftermarket screens tend to notice the biggest difference, simply because they’re the ones fighting the vacuum effect hardest at motorway speeds. Naked bike owners doing short urban rides often gain less, since there’s less baseline turbulence to fix.
My honest advice after weighing the evidence: buy model-specific over universal-fit every time, and treat the first few rides as a tuning exercise rather than a final verdict. A catalogue structure, built around exact bike compatibility, exists precisely to remove that guesswork for riders who’d rather ride than experiment.
— Matteo
Where to find deflectors matched to your exact bike
This service is a straightforward alternative to hunting through generic marketplace listings for a deflector that might fit. Many products in the catalogue are matched by make, model and year to reduce the risk of buying a universal-fit piece that sits at the wrong angle from day one.

The range spans recognised names including Evotech Performance, Powerbronze and R&G, alongside other fairing and screen brands, searchable directly against bike specifications. Checkout runs on secure payment processing with tracked shipping in key regions, so customers can monitor their orders at every stage. Search your bike’s model on the fairings and plastics section to see compatible deflector and screen options, or browse the wider accessories range for mounting kits and add-ons. Ready to fit a deflector that’s actually built for your bike? Head to the Sixrace discount page to claim your reserved discount before you order.
Sources
- Motorcycle Windscreen Spoilers and Deflectors: How They Reduce Buffeting
- Recensione del deflettore di Archimede Bikes e non solo… - Vita di un Motociclista
- The Science of Air Management | Flare® Windshield Guide
- Windscreens and other causes + solutions for noise and buffeting in motorcycle helmets. – Scenic
FAQ
Do wind deflectors really reduce buffeting?
Yes, when correctly matched to your bike and set at the right angle, deflectors redirect airflow away from the helmet and torso, cutting the buffeting that causes fatigue on longer rides.
What’s the difference between a spoiler and a side deflector?
A spoiler sits on top of the screen and lifts airflow over the helmet, while side deflectors manage the lateral rushes hitting the rider’s shoulders and elbows.
Can a deflector make buffeting worse?
Yes, an incorrectly sized or angled deflector, particularly an overly tall screen, can create a vacuum effect that pulls turbulent air back onto the rider instead of redirecting it.
How do I know if my deflector needs adjusting?
Watch for new buffeting at a different speed than before, increased mirror vibration, or reduced visibility. All three signal the airflow has shifted rather than calmed.
Should I buy a universal or model-specific deflector?
Model-specific kits, like those Sixrace organises by make, model and year, account for your exact fairing geometry and mounting points, which reduces the fitting problems universal kits create.
 Italiano
 Deutsch
 Français
 Español
 English
 Polski