
You're standing beside the bike after your first proper enduro loop, boots muddy, legs tired, and wondering why shifting suddenly feels awkward. The boots looked tough in the shop, but on the trail they're either too soft to give confidence or so rigid that every dab feels clumsy. Your foot searches for the peg in a rut, the shin catches a branch, and the gear lever seems to have moved overnight.
That's why stivali da moto enduro, or enduro motorcycle boots, aren't just taller road boots. Their sole, shin protection, ankle control, closure system, and relationship with the footpegs all affect how safely and accurately you ride. The right pair should protect you without disconnecting you from the bike.
This guide builds the decision from the ground up. You'll learn how enduro, motocross, and trial boots differ, what materials and safety markings mean, how to check fit, how to adapt boots to levers and pegs, and how to maintain them after muddy rides. For a wider view of protective equipment, Sixrace's guide to types of motorcycle riding gear is a useful companion.
Table of Contents
- Introduction to Enduro Boots and Why They Matter
- Understanding Enduro Boot Types and Their Uses
- Materials Construction and Comfort Explained
- Protection Standards and Safety Features That Count
- How to Measure Size and Check Fit Correctly
- Real World Use Break In and Bike Compatibility
- Maintenance Care and When to Replace Your Boots
Introduction to Enduro Boots and Why They Matter
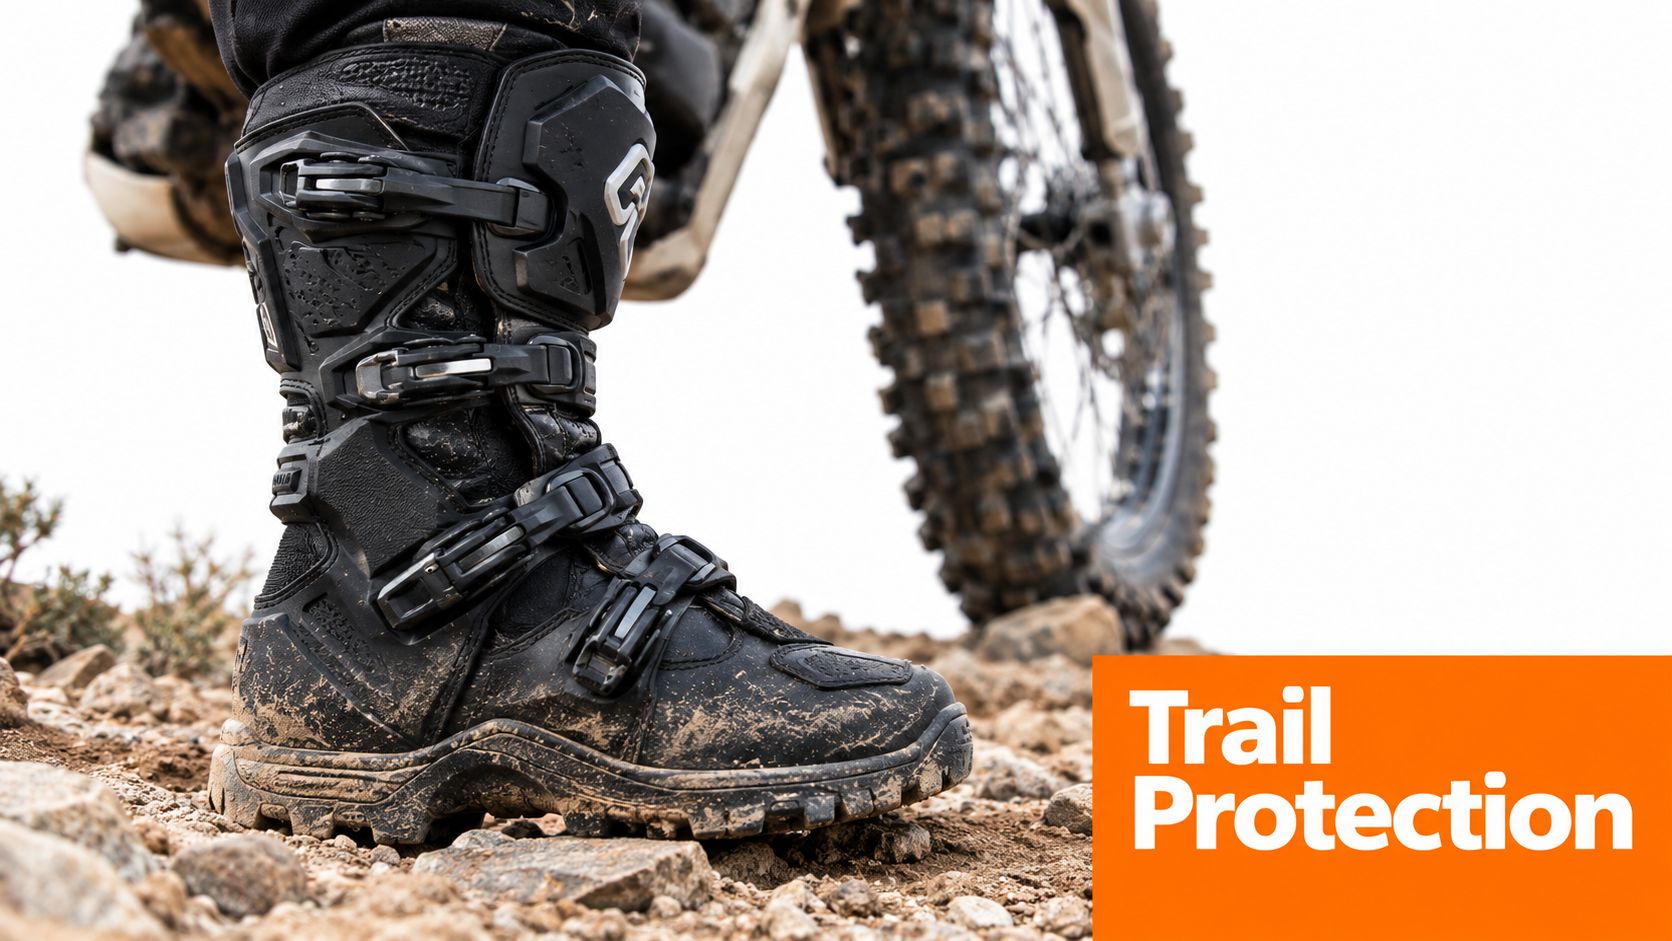
An enduro boot has a difficult job. It must resist impact from rocks, branches, and the motorcycle itself, while still allowing enough ankle movement for balance, braking, and gear changes. It also has to support your lower leg when the bike lands awkwardly or your foot gets trapped between the machine and the ground.
A normal road boot usually prioritizes walking comfort, weather resistance, and smooth controls. An enduro boot prioritizes peg stability, shin coverage, abrasion resistance, and controlled ankle movement. Think of the difference between a hiking boot and a ski boot. The hiking boot lets your foot work naturally over uneven ground. The ski boot restricts movement to control the ski. A dedicated enduro boot sits between those ideas, protective enough for hard off-road use but not always as immobile as a pure motocross boot.
Your riding position makes the difference obvious. Standing on the pegs places your feet on a small support area for long periods. A soft sole can fold or fatigue under that load, making your feet work harder. A reinforced shin and toe box protect areas that often meet the ground first during a dab or fall. Ankle bracing limits unwanted movement, but excessive stiffness can reduce feel and make technical sections tiring.
The correct choice depends on the ride, not only on the product label. A rider spending most of the day on a motocross track needs different flexibility from someone threading through rocks, crossing streams, and walking beside a stalled bike. Weather matters too. A waterproof liner may be valuable on wet travel routes, yet uncomfortable in hot, slow terrain where ventilation matters more.
Practical rule: Choose the boot that matches your most demanding riding condition, not the easiest part of your usual route.
Understanding Enduro Boot Types and Their Uses
Riders often use “enduro boot” as a broad label, but several designs sit underneath it. They share protective goals, yet their flex, sole shape, and intended terrain can feel completely different.
Dedicated enduro boots
A dedicated enduro boot is the most balanced option for mixed trail riding. It normally combines a protective shin plate, a structured ankle area, a sole designed for footpeg contact, and enough flex to help with slow technical work. It suits riders who alternate between standing, sitting, paddling through difficult sections, and walking short distances.
The sole deserves close attention. Enduro riding loads the foot through the peg, especially when the bike hits roots, rocks, or a landing. A boot with controlled stiffness helps keep the foot stable instead of allowing the sole to collapse. At the same time, a little forward and rearward flex helps you operate the controls and move around the bike.
Motocross boots
Motocross boots generally lean toward maximum impact and twist protection. Their shells and hinge systems can feel more like protective equipment than footwear. That's useful on a track, where jumps, hard landings, roost, and repeated falls create high demands.
The compromise appears during technical trail work. A very rigid boot can make it harder to feel the peg, hook the gear lever, or place the foot precisely during a slow turn. It may still be the right choice if protection is your first priority, but give yourself time to adapt before entering difficult terrain.
Trial boots
Trial boots are built for a different kind of movement. Trial riders often stand on the pegs, shift their weight constantly, and walk onto obstacles while balancing the motorcycle. Their boots tend to offer more flexibility and a grippier walking-oriented sole.
That comfort has a limit. A trial boot may not provide the same level of shin coverage or rigid impact structure as a serious motocross or enduro model. It's a sensible match for trials and highly technical, low-speed terrain, but it may be a poor fit for fast open trails.
Hybrid designs
Some boots sit between these families. They may borrow the ankle support of motocross boots, the sole of a trial boot, and the walking comfort of an adventure model. Hybrids can work well for riders who connect paved roads with dirt sections, but read the construction carefully. “Adventure” doesn't automatically mean suitable for aggressive enduro.
For riders comparing smaller-displacement machines and learning platforms, practical 125cc enduro bike advice can help clarify how motorcycle type affects terrain and equipment demands.
| Boot family | Main strength | Typical compromise |
|---|---|---|
| Dedicated enduro | Balanced protection and control | Less specialized than a pure track boot |
| Motocross | High structural protection | Reduced walking comfort and trail feel |
| Trial | Flexibility and grip at low speed | May offer less impact protection |
Materials Construction and Comfort Explained
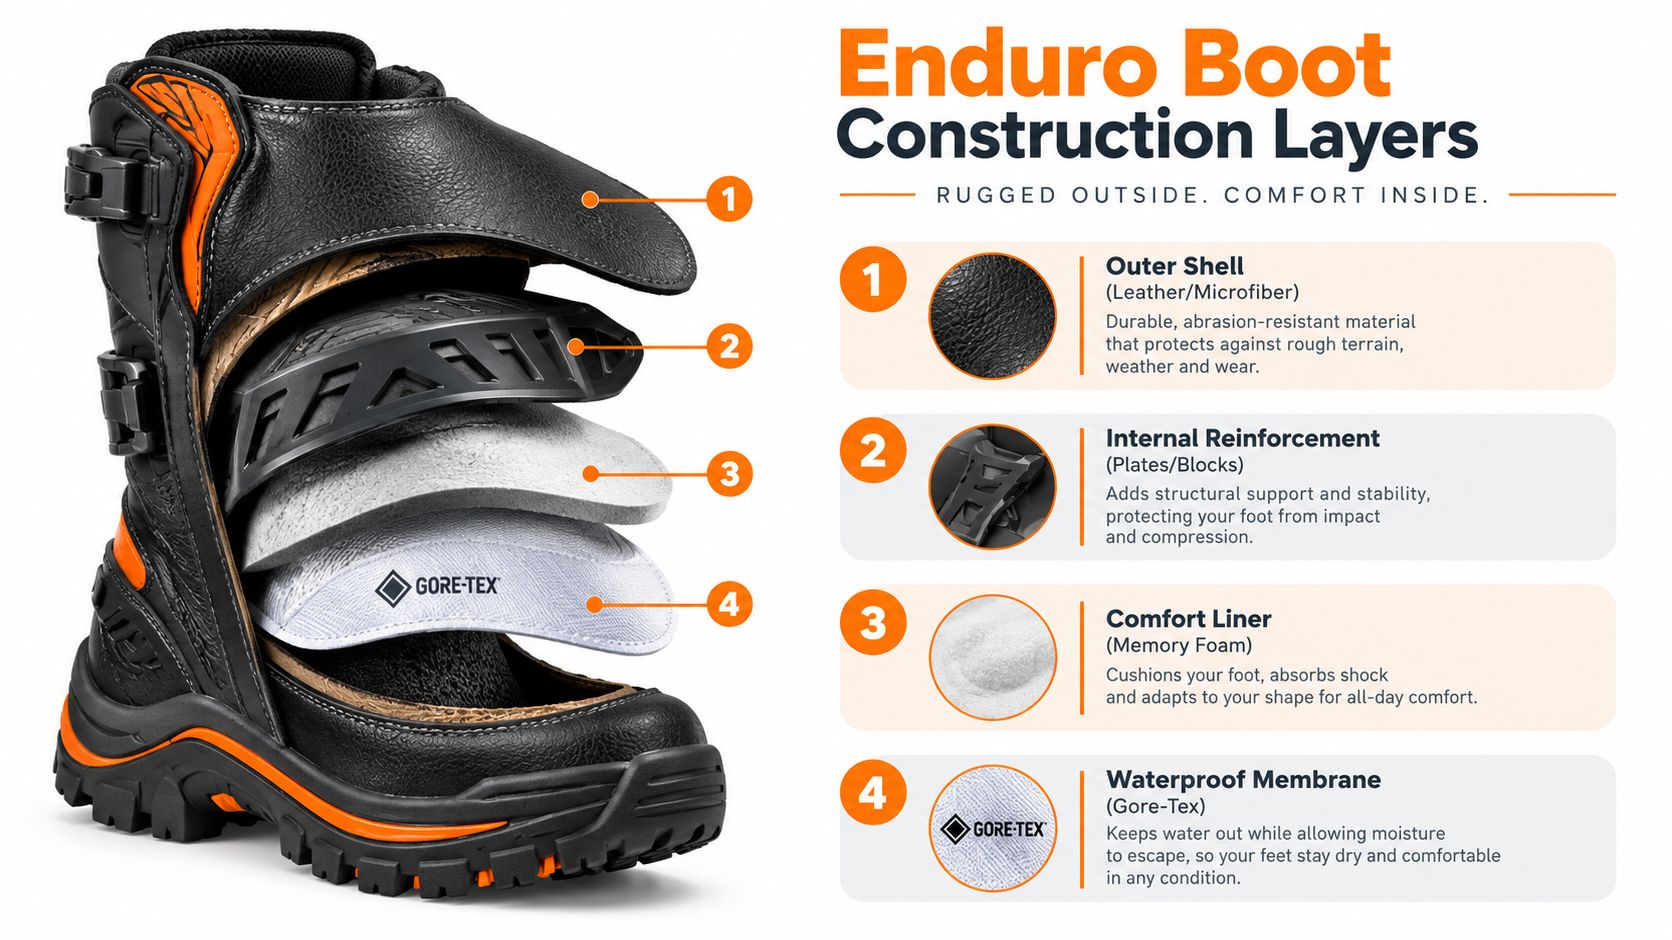
Read an enduro boot from the outside in. Each layer changes how the boot protects, bends, manages water, and communicates with the motorcycle.
The outer shell
Leather and synthetic microfiber are common outer materials. Leather can feel supple and develop a natural break-in character, while microfiber often offers consistent shape and easier cleaning. Neither material tells you the whole story. Stitching, overlays, molded guards, and the way the upper joins the sole matter just as much.
A molded shin plate spreads contact over a wider area than a thin textile panel. A reinforced toe protects the part of the foot that often meets rocks or the ground. Heel structure helps keep the rear of the foot seated when the boot is fastened.
The internal structure
Under the outer shell, look for reinforcement around the ankle, shin, toe, and heel. Some designs use rigid blocks or plates. Others combine a shell with a hinge or pivot that permits controlled movement while limiting excessive travel.
Controlled flex is the target. The ankle should bend enough for braking and shifting, but the boot shouldn't fold freely sideways. This is particularly important for riders who use frequent dabs in ruts or on cambered ground.
Closures and fit adjustment
Traditional buckles are simple and easy to inspect in the paddock. They also let you adjust tension in stages, which helps when mud gets into the mechanism or your foot changes slightly during a long ride. BOA-style dials and micro-adjustable systems can offer quick, precise tension changes, especially for riders who struggle with different calf shapes or high insteps.
A fast closure doesn't fix an unsuitable shell shape. It only fine-tunes a boot that already fits your foot and lower leg. Check whether replacement straps, buckles, or adjustment parts are available before treating a complex closure as a long-term advantage.
For a concrete product reference, Stivali Enduro FASTBACK ENDURANCE ENDURO BLACK BROWN is listed by Sixrace under its enduro boot category. The product name alone doesn't replace checking its construction, sizing information, and safety documentation.
Waterproofing versus ventilation
A waterproof membrane keeps external water from reaching the foot, but it can also reduce airflow and add another layer inside the boot. True motocross and enduro boots are often not waterproof because ventilation, flexibility, and protective structure take priority. Waterproof models make more sense for riders who regularly cross streams, ride in persistent rain, or spend several days on rally-style routes.
The wider category is far from insignificant. A market estimate places motorcycle footwear at USD 2.65 billion in 2025, with off-road and motocross boots at USD 697.63 million, about 26.3% of the market in that year, according to motorcycle footwear market data. That scale creates plenty of choice, but it also makes product sheets harder to compare.
Ignore marketing adjectives first. Find the boot's intended category, certification, closure design, ankle architecture, sole construction, and waterproofing statement. Those details tell you more about trail behavior than words such as “premium” or “extreme.”
Protection Standards and Safety Features That Count
EN 13634:2017 gives riders a common language for protective motorcycle footwear. Certified boots are evaluated through a four-digit code covering shaft height, abrasion resistance, cut resistance, and transverse rigidity. The code doesn't describe every protective feature, but it gives you a useful starting point when comparing products.
The final part, transverse rigidity, is especially relevant to enduro. It describes how well the boot resists sideways collapse under load. Under the highest level described in industry guidance, the boot must resist at least 1.5 kN, while Level 1 corresponds to 1.0 to 1.4 kN, as explained in this motorcycle boot protection guide. Greater rigidity can help the sole resist collapsing under peg pressure and landing compression.
EN 13634 protection levels at a glance
| Test Area | What It Measures | Higher Level Means |
|---|---|---|
| Shaft height | Protective height around the lower leg | More coverage above the foot and ankle |
| Abrasion resistance | Resistance to surface wear | Better resistance when the boot contacts rough ground |
| Cut resistance | Resistance to penetration from a cutting force | More protection against sharp contact |
| Transverse rigidity | Resistance to sideways compression | Less sole collapse under load |
The standard has an important limitation. It doesn't require dedicated ankle-torsion testing, so a CE label alone doesn't tell you how a boot manages every twisting movement. If twist protection matters to you, look for a hinge, pivot, or bracing system that controls lateral and rotational motion.
Stiffness always moves the problem somewhere
A university biomechanics study found that motorcycle boots reduced peak ankle inversion angles by 3.6 degrees during emergency-stop conditions, while increasing vertical ground-reaction forces by 0.21 bodyweights, according to the Iowa State University study. In plain terms, a stiffer boot can help stop the ankle rolling inward, but it may transfer more load upward through the leg.
That doesn't mean soft boots are safer. It means the best enduro design controls movement rather than eliminating every movement. A boot should support the ankle, resist crushing and abrasion, and retain enough flex for precise control.
A separate safety study associated motorcycle boots with a 45% lower risk of injury in protected areas when body armor was fitted, although boot effects on hospitalization weren't statistically significant, as summarized in the available motorcycle footwear research. Since that source has already been used above, treat this as the same evidence context rather than a separate recommendation.
Prioritize a secure ankle architecture, intact shin and toe protection, reliable closures, and a sole that suits your peg load. Certification is valuable, but it should be one part of the decision rather than the entire decision.
How to Measure Size and Check Fit Correctly
Fit starts at home, not after the first crash. Measure both feet while wearing the socks you use for riding, preferably when your feet are at their normal full-day size. Stand on paper, mark the heel and longest toe, and measure the distance in millimetres. Use the larger foot when comparing the result with a brand's chart.
Measure the calf around the area where the boot's upper will sit. A boot can fit the foot perfectly and still pinch the calf, leave the shin plate floating, or force the buckles into their last adjustment position.
A five-point home check
- Toe movement: Your toes should wiggle without pressing hard against the front. You need room for control and swelling, but your heel shouldn't slide forward.
- Heel retention: Walk carefully and flex the ankle. A little new-boot movement is normal, but pronounced heel lift means the shell or size may be wrong.
- Shin contact: Fasten the boot with your riding trousers tucked or worn as intended. The shin plate should sit in front of the leg rather than twist toward the side.
- Closure progression: Each buckle or dial should tighten progressively. If the first setting is loose and the next is painfully tight, the calf shape doesn't match well.
- Ankle alignment: The flex point should sit near your natural ankle joint. If the boot bends above or behind that point, control and comfort will suffer.
Wide feet and high insteps need special attention. A longer size doesn't always create the right width, and excessive closure tension across the instep can cause numbness. A removable insole or different sock thickness may help, but don't use accessories to disguise a narrow boot.
Micro-adjustable closures can be useful after hours of riding, when the foot swells or mud changes the way the boot sits. They work best as fine adjustment, not as a substitute for correct length and volume.
Once the home fit looks right, test the pair seated and standing on the motorcycle. Sixrace lists the FASTBACK ENDURANCE ENDURO MIDNIGHT boots, but you should still compare the available sizing information with your own measurements.
A boot should feel secure before you tighten it hard. If pressure creates the fit, the shape probably isn't right.
Real World Use Break In and Bike Compatibility
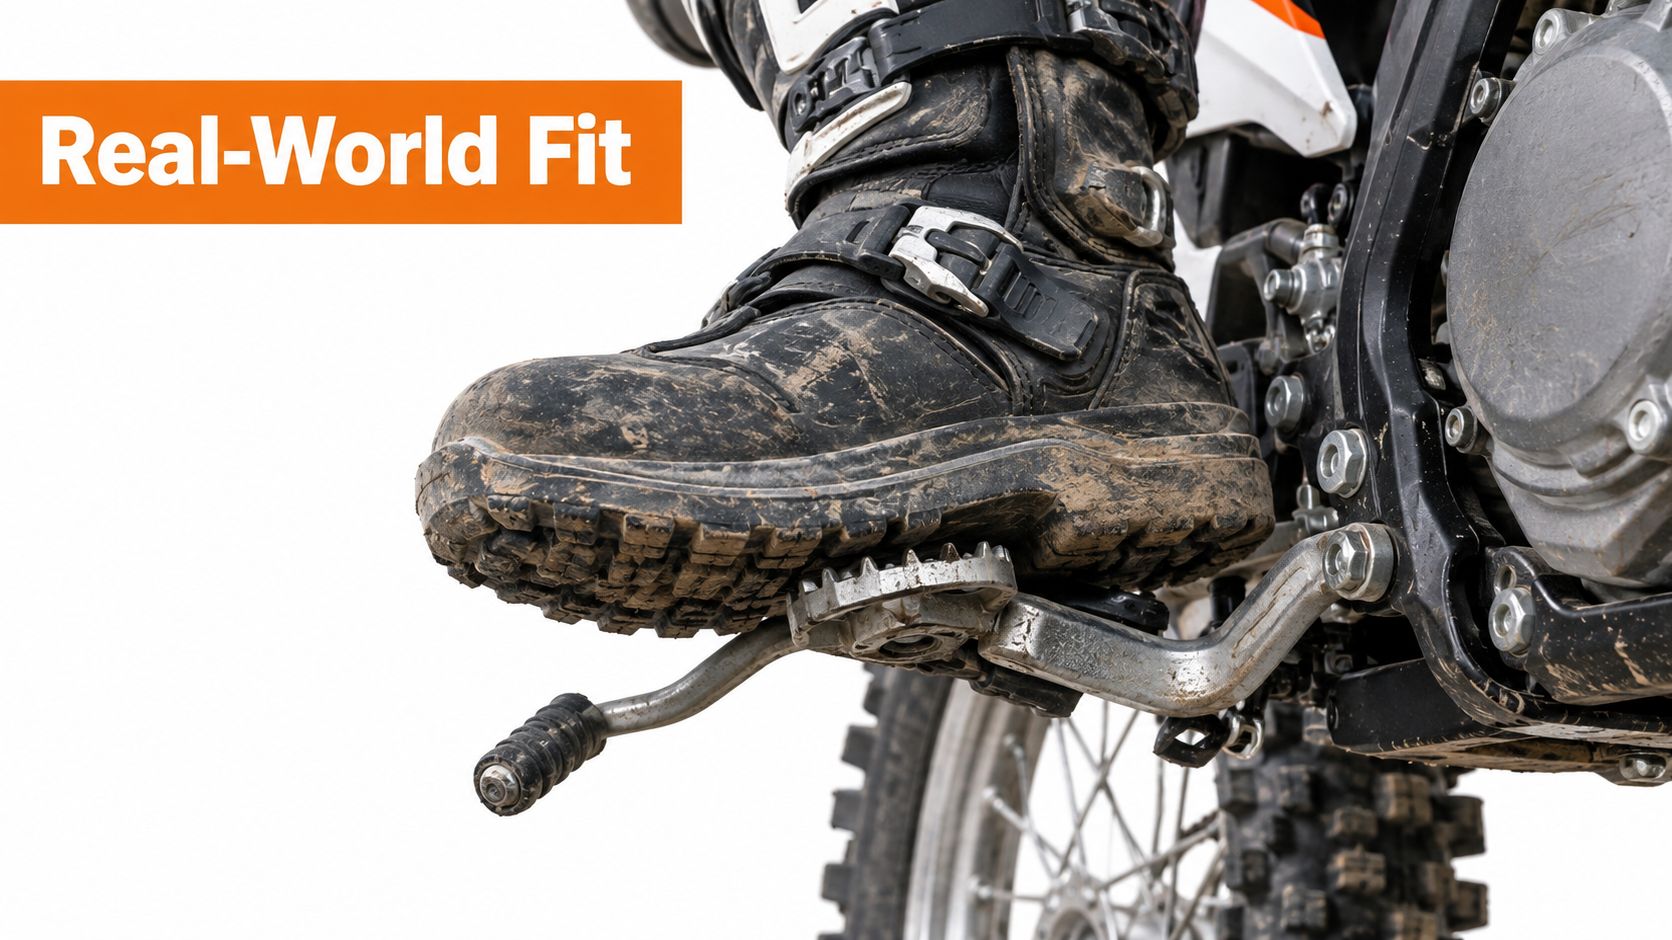
New boots rarely feel natural on the first ride. The sole may feel thick, the ankle may resist movement, and the gear lever may seem too close to the boot. Break them in gradually. Wear them around the garage, operate the buckles, flex the ankle by hand without forcing it, and take a short local ride before planning a long trail day.
Walking comfort and riding comfort aren't identical. A boot that feels awkward while walking can work well on the bike if the ankle bends at the correct point and the sole locks onto the peg. The opposite also happens. A flexible boot may feel pleasant in the car park but allow too much movement when your foot lands hard.
Check the controls before the trail
Sit on the bike in your normal standing position and test each control slowly.
- Shift lever: Slide the toe under it repeatedly. If the boot won't fit cleanly, adjust the lever position according to the motorcycle's service guidance.
- Brake pedal: Stand on the pegs and apply the rear brake with the boot's natural ankle position. You shouldn't need to twist your foot inward.
- Footpeg contact: Check whether the sole sits flat and whether the peg teeth engage the intended area. A very smooth touring sole may feel less secure in mud.
- Side stand and frame clearance: Confirm that the taller boot doesn't catch on the stand, frame, or luggage bracket when you put a foot down.
- Laces and loose parts: Avoid anything that can catch on the lever, peg, chain, or brake components.
Sole thickness changes your timing. If the new boot has a thicker toe box, you may lift your foot farther before the lever engages. If the brake pedal feels buried, a lever or pedal adjustment can restore a natural ankle angle. Aftermarket foot controls can help in some cases, but check model compatibility carefully rather than forcing a universal part.
Sixrace's catalogue includes model-specific control and protection components, so compatibility should be checked by motorcycle model and year. For example, the listing for SP-2 SHORT BLACK TITANIUM Honda XL750 TRANSALP 2023+ HP CORSE identifies the product as HP CORSE HOSP2750HC-AB SP-2 SHORT BLACK TITANIUM for the Honda XL750 Transalp 2023-2026. That's an exhaust item, not a boot-control solution, which is exactly why every compatibility check must start with the part's actual function.
Take a short ride after every adjustment. Test shifting while seated and standing, brake on a slope, and dab at low speed in a safe area. Your boots and bike should work as one system.
Maintenance Care and When to Replace Your Boots
Mud shouldn't stay on an enduro boot until the next ride. Brush away dried dirt, rinse with gentle water pressure, and use a mild cleaner on the outer surfaces. Avoid forcing water into buckles, hinges, and moving joints.
Let the boots dry naturally in a ventilated place. Keep them away from direct heat, radiators, and hairdryers, because excessive heat can deform materials, weaken adhesives, and change the fit. Open the closures, remove removable liners when the design allows it, and don't store the boots while the inside is damp.
A quick post-ride inspection
- Shell and plates: Look for cracks around the toe, shin, heel, and ankle.
- Sole: Check for separation, damaged lugs, or wear that changes peg grip.
- Hinges: Feel for unusual play, grinding, or restricted movement.
- Buckles and straps: Confirm that every closure locks securely and doesn't release under pressure.
- Liner and padding: Check for tears, compressed sections, or persistent dampness.
Condition leather only with a product suitable for that material, and don't apply slippery treatments to the sole. Clean sand and mud from hinge areas before using a small amount of appropriate lubricant, then remove excess so it doesn't attract more grit.
Sixrace also publishes practical maintenance guidance, including advice on keeping zippers on enduro and motocross rain gear functional. The same habit applies to boot closures: clean them, inspect them, and never assume a jammed mechanism will work once you're on the trail.
Replace boots when structural protection is compromised, the sole separates, a hinge develops excessive play, or a closure can no longer secure the boot. A worn appearance isn't automatically dangerous, but a cracked plate or unreliable buckle is a clear reason to stop using the pair.
Use this final checklist before buying: choose the right boot family, match stiffness to your terrain, decide whether waterproofing is worth the heat trade-off, confirm EN 13634:2017 information, measure both foot and calf, and test the boot against your levers and pegs. Then maintain the pair as protective equipment, not ordinary footwear.
Sixrace offers enduro boots alongside motorcycle controls, protection parts, and model-specific accessories, with product information designed to help you check fit and compatibility before ordering. Visit Sixrace to compare suitable riding equipment and prepare your boot-bike setup for the terrain you ride.
 Italiano
 Deutsch
 Français
 Español
 English
 Polski