

You've found it late at night. The photos show a clean rear end, the plate tucked to one side, and the product page uses the word homologated in bold. It looks ready to bolt on, and you're ready to order.
Don't decide yet. That marking is only the start of a longer check involving position, tilt, visibility, lighting, your exact motorcycle, and the rules where you ride. A side holder can be suitable, but only when the complete installed assembly works as one system.
Table of Contents
- Choosing a Side Plate Holder Without Guesswork
- What Homologated Actually Means
- Rules for Position Dimensions and Visibility
- How to Read Markings and Prove Compatibility
- Lighting and Indicators in the Complete Assembly
- Approved Lateral Holder Versus Original Setup
- Mounting and Maintaining the Plate Holder
- A Buyer Checklist for Homologated Side Holders
Choosing a Side Plate Holder Without Guesswork
A rider sees a lateral bracket on a custom bike and wants the same stripped look. The listing shows a certification-like marking, a small LED lamp, and a fitment list that seems to include his model. It feels like a simple purchase.
Then he fits it. The plate sits lower than before, the lamp points at an odd angle, and an indicator partly blocks the characters from one side. The bracket itself hasn't failed. The installation has changed the result.
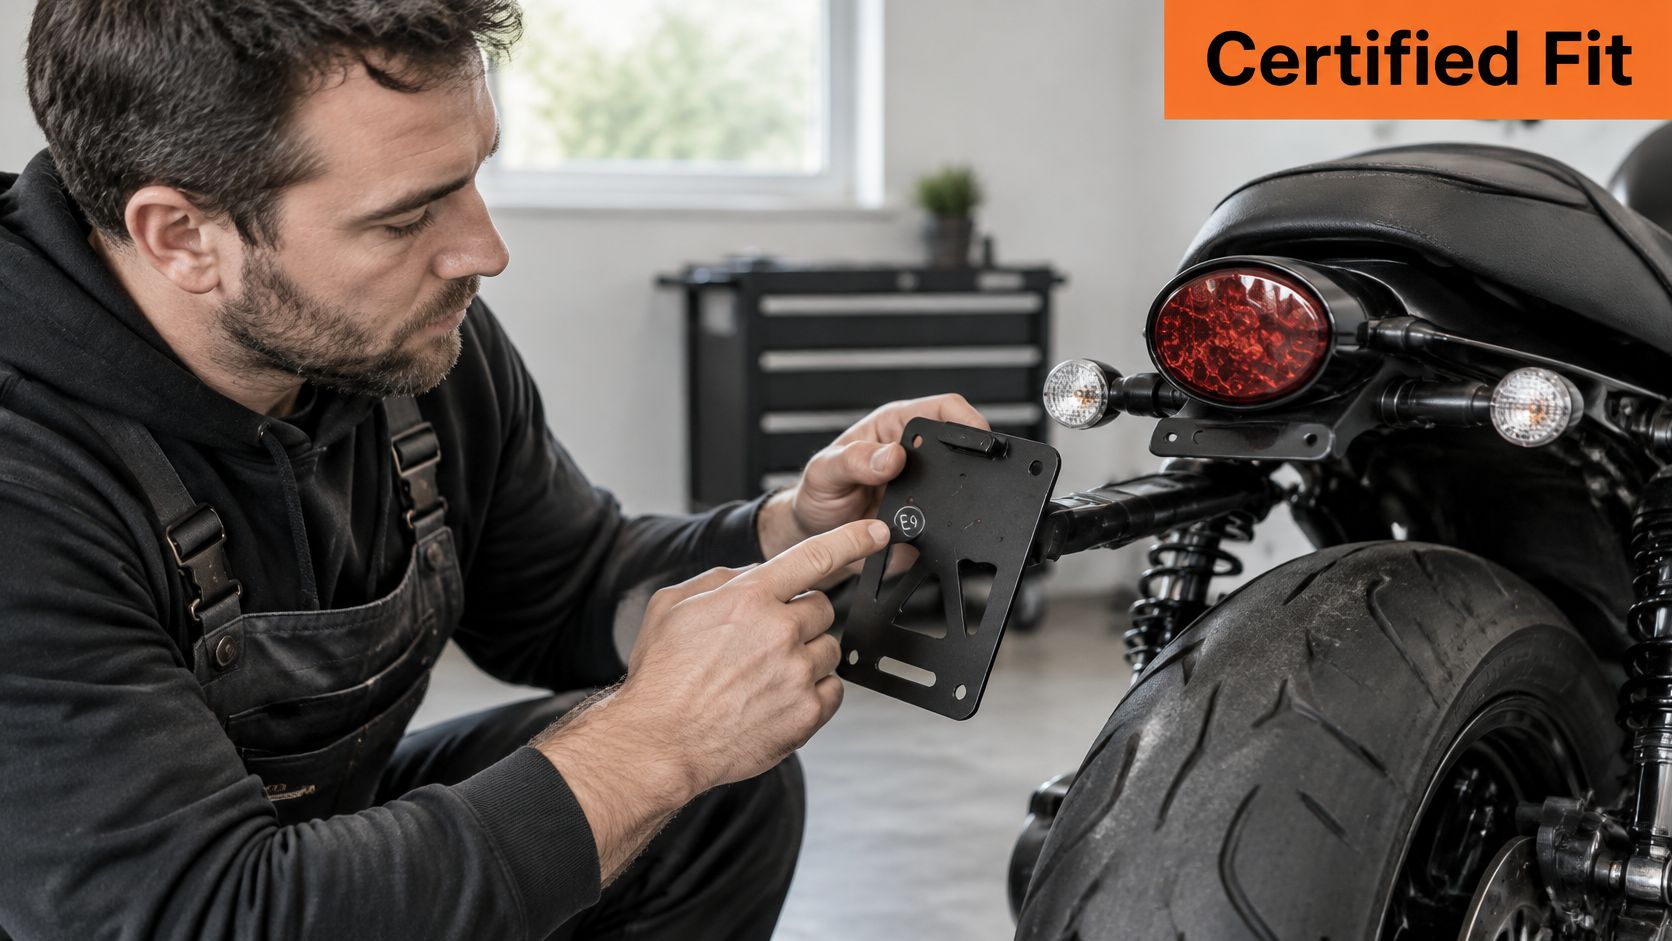
Why the Marking Alone Doesn't Settle the Question
If you're shopping for a portatarga laterale moto omologato, you're really buying more than a piece of bent metal. You're buying a new plate position, a new lamp position, new wiring routes, and new clearances around the tyre, chain or belt, exhaust, and suspension. Each of those changes can affect whether the plate stays readable and legally placed.
That's the hidden distinction many listings blur. Component approval concerns a part or arrangement under defined conditions. It doesn't automatically prove that every finished installation, on every model and year, with every plate format, satisfies the applicable road rules.
Practical rule: Judge the holder by where the plate ends up on your motorcycle, not by how convincing the marking looks in a product photo.
Compatibility comes before styling. Check the model and year, the mounting points, and the national plate format first. Then check height, inclination, lateral offset, and whether surrounding lamps remain unobstructed.
Workshops see the same confusion in reverse. A customer brings in an expensive, certified-looking bracket and assumes the paperwork question is closed. A plain standard-position bracket would've created less legal risk, because it leaves the plate close to the manufacturer's original geometry.
You're not looking for permission to hope. You're looking for evidence that the part, the motorcycle, and the finished position all line up.
What Homologated Actually Means
Think of a brake component tested on a bench. It passes its own checks for strength and specification. That tells you something useful, but it doesn't tell you how it performs once it's connected to a particular motorcycle, with particular hoses, loads, and clearances.
A plate holder works the same way. Testing a component in isolation is one layer. Fitting it into a complete machine is another. Using that machine on the road under national rules is a third.
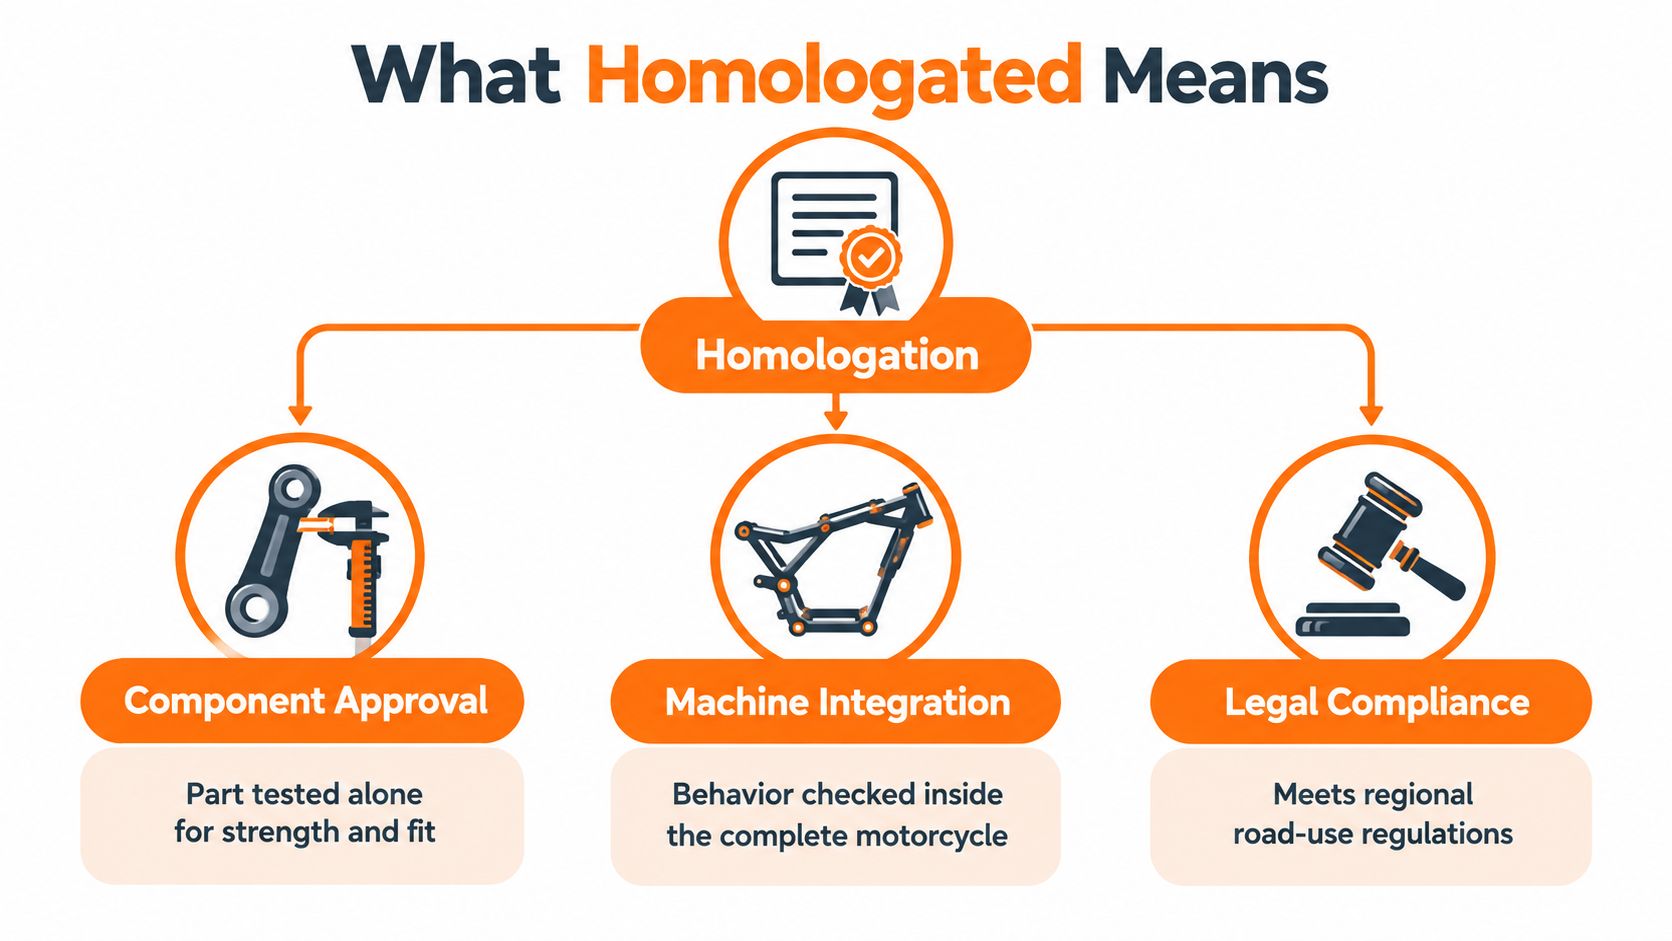
Three Claims That Aren't Interchangeable
- Component approval: A marking or document relates to a defined part, lamp, or mounting arrangement. It doesn't describe every possible angle or offset you could create during fitting.
- Vehicle compatibility: The bracket is made for your specific model, year, and mounting points, and it accepts your country's plate format without forcing, trimming, or improvising.
- Road-law compliance: The finished motorcycle keeps the plate at the rear, readable, illuminated, and within the required geometry under the rules that apply where you ride.
Confusing these layers is where buyers get caught. A seller may correctly describe the first layer while you assume it covers all three. The product description and the completed installation are answering different questions.
In Italy and across the European Union, an approved holder is governed primarily by the plate's position, dimensions, inclination, and visibility, not by whether the bracket sits centrally or laterally. That's important because side mounting isn't judged by style or symmetry. It's judged by whether the final plate position still satisfies the framework described in the EU summary of Directive 2009/62/EC on plate mounting space.
A Better Vocabulary for the Purchase
When a listing says homologated, ask what exactly carries the claim. Is it the bracket, the plate lamp, the mounting arrangement, or a vehicle-specific kit? If the seller can't separate those items, you can't verify the purchase properly.
Keep that distinction in every conversation with a seller or workshop. Approved part, compatible fitment, compliant installation. If one layer is missing, the other two don't fill the gap.
Rules for Position Dimensions and Visibility
Geometry decides most of this. A lateral bracket moves the plate away from the tail, so you need to measure where it lands rather than trust how it looks from three metres behind the bike.
EU Directive 2009/62/EC on the rear registration plate mounting space specifies a standard mounting space of 280 mm wide by 210 mm high for motorcycles, tricycles up to 15 kW, and certain quadricycles. It also requires the mounting area to remain at the rear, with no point higher than 1.5 m above ground and no point lower than 0.20 m, or below the wheel radius when that radius is less than 0.20 m.
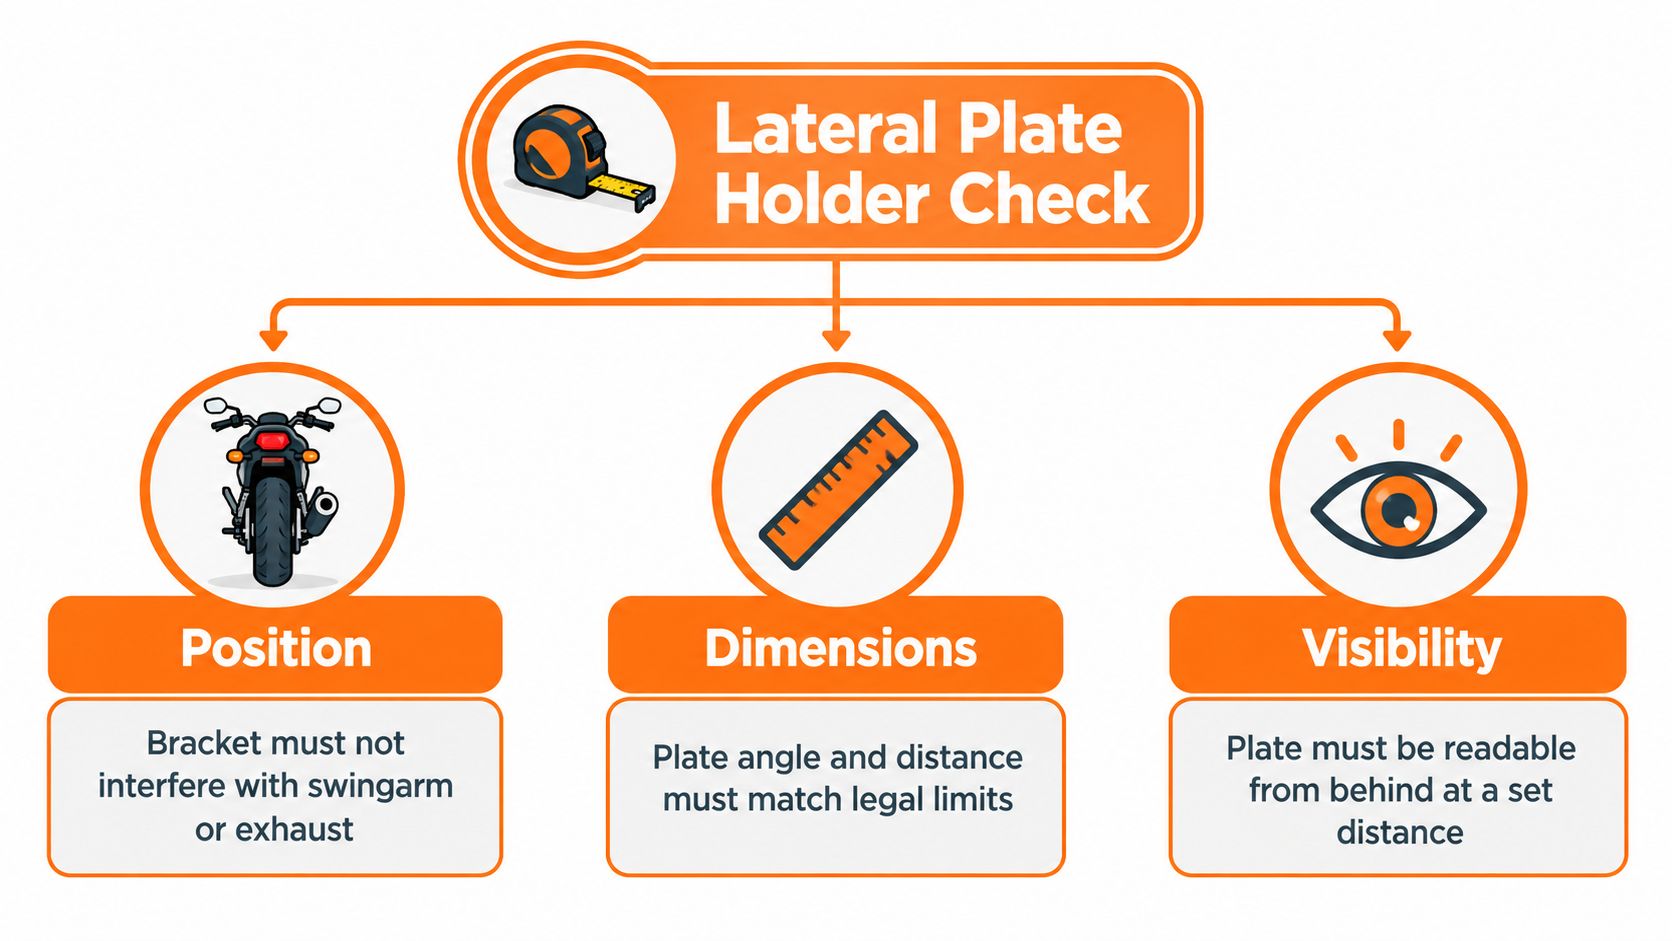
Height, Tilt, and the Outer Envelope
Italian technical rules also limit upward-facing inclination to 30 degrees from the vertical and require the mounting area to remain within the vehicle's outer longitudinal planes. That last point matters greatly for side brackets. If the arm pushes the plate outward beyond the motorcycle's envelope, a neat-looking offset becomes a geometry problem.
Use this order when you check a mocked-up installation:
- Rear position: Confirm the plate still sits at the rear of the vehicle and faces rearward in a readable orientation.
- Height: Measure the highest and lowest points with the motorcycle in its normal stance, not lifted on a paddock stand.
- Inclination: Check the angle after tightening, because brackets often rotate slightly as fasteners seat.
- Lateral envelope: Sight along the motorcycle and confirm the plate hasn't been pushed outside the permitted outer planes.
These figures are reference points within the stated framework, not a substitute for checking current country-specific rules. National requirements still govern the plate itself and its field of visibility once mounted.
Visibility Around Lamps and Signals
Moving the plate can also move or obstruct nearby equipment. UN/ECE Regulation No. 53 for category L3 motorcycle lighting installation defines geometric visibility angles for required rear lighting and signalling of 20 degrees inward, 80 degrees outward, and 15 degrees above and below the horizontal.
That regulation mainly concerns lighting and signalling, so treat those angles as engineering context when you reposition an indicator, rear lamp, or mudguard. It also places relevant equipment generally between 350 mm and 1,200 mm above ground. If your new bracket crowds an indicator or hides it behind the plate, the bracket's own strength won't fix that conflict.
Read the plate from behind and from rear three-quarter angles. If luggage, a tyre, a frame, or an indicator cuts across the characters, you've found a practical visibility failure even before anyone reaches for a rulebook.
How to Read Markings and Prove Compatibility
Start with the physical part in your hand. Photograph every marking before fitting, including marks on the bracket, the plate lamp, and any labels on the packaging. Then match those marks to the paperwork instead of assuming they all refer to the same thing.
A marking on a lamp proves something about that lamp. It doesn't prove the bracket fits your motorcycle, and it doesn't prove the lamp will light the plate correctly once the pair is mounted sideways. You're building an evidence chain, not collecting logos.
A Sequential Check You Can Repeat
- Identify the marked component: Write down whether the approval marking belongs to the holder, the lamp, or another device, and keep the matching document with it.
- Confirm model and year: Compare the fitment list with your exact motorcycle variant. A mid-cycle change to the swingarm, rear axle, or tail section can make a near fit unusable.
- Check mounting points: Offer the bracket up without force. Holes should align naturally, and spacers should sit flat rather than pulling the arm into place.
- Match the plate format: Place your actual national plate in the frame. Check that characters aren't covered by lips, screws, or a decorative surround.
- Test clearances through movement: Turn the wheel, compress the suspension where practical, and confirm the tyre, belt, chain, and exhaust can't contact the plate or wiring.
The same discipline helps with other approved accessories, which is why fitment guidance for items such as homologated motorcycle mirrors with model-specific compatibility is useful background. The principle transfers directly. A generic approval claim never replaces a model-specific check.
Keep a Three-Layer Record
Keep one folder, paper or digital, with three parts. First, what the component is, including markings and instructions. Second, where it fits, including the model, year, and any required adapters. Third, what the completed installation must satisfy in your country.
A photograph of the installed geometry helps you detect later movement, but it doesn't by itself establish legality.
If you ride across borders, verify the destination country's current national requirements before you travel. An installation accepted in one market may be assessed differently in another. Carry the instructions and approval evidence so you can show what was fitted and how the manufacturer intended it to sit.
Don't accept verbal reassurance as documentation. If a seller says a portatarga laterale moto omologato suits your bike, ask for the fitment reference and the lamp instructions. Precise answers are a good sign. Vague answers are information too.
Lighting and Indicators in the Complete Assembly
The bracket is rarely the weakest point after a side conversion. Lighting is. You can torque every fastener correctly and still end up with half the plate in shadow.
Moving the plate away from the tail changes the lamp-to-plate geometry. An illuminator that worked in the original tail unit may now sit too far away, too close, or at the wrong angle. The characters nearest the lamp look bright while the far edge fades.
What the Lamp Has to Achieve
UNECE Regulation No. 4 on rear registration plate lamps requires the lamp to illuminate the whole plate within the prescribed visibility arrangement. The lamp manufacturer must define the permitted mounting position relative to the plate, and the incidence angle of light on the surface must not exceed 82 degrees at any point.
The lamp also mustn't emit direct light toward the rear, except where red light is permitted because it's combined or grouped with a rear lamp. That's why a bright white LED aimed backward isn't a bonus. It's glare, and it can make the plate harder to read rather than easier.
- Whole-plate illumination: Check every character in darkness, not just the centre of the plate.
- Shadows: Look for dark bands cast by the plate frame, bracket arm, reflector, or indicator body.
- Direct rearward light: Stand behind the motorcycle and confirm you're seeing the lit plate, not an exposed white light source.
- Wiring exposure: Route cables away from tyre spray, suspension travel, sharp edges, and exhaust heat.
Compare Before and After Honestly
With the original setup, the manufacturer controlled lamp distance and angle as part of the tail design. With a lateral holder, you and the kit designer share that responsibility. Styling may improve, but lighting uniformity can get worse, especially on motorcycles with exposed rear wheels throwing road spray across the plate.
Indicators need the same sceptical check. A plate arm can block an indicator from one rear angle even when it looks clear from directly behind. Test both indicators with the plate fitted, then view them from each rear quarter.
An approved lamp doesn't stay automatically suitable in every bracket. The relevant unit is the lamp, bracket, and plate together, in their final tightened positions. Recheck after the first rides, because vibration can rotate a small lamp housing enough to create a shadow that wasn't there in the workshop.
Approved Lateral Holder Versus Original Setup
Consider two finished motorcycles side by side. One keeps its factory tail. The other uses a lateral holder that places the plate beside the rear wheel, keeps the lamp aligned, and leaves the indicators clear. Both can present a readable plate, but they reach that result with different risks.
The original setup is your reference installation, not necessarily your only option. Its advantage is integration. The manufacturer positioned the plate, lamp, reflector, and indicators together, so you're not redesigning their relationships.
Original and Lateral Plate-Holder Comparison
| Criterion | Original setup | Approved lateral holder | What to verify |
|---|---|---|---|
| Plate position | Fixed by the factory tail | Depends on arm length and mounting point | Rear position, height, tilt, outer envelope |
| Lamp geometry | Designed for that plate location | Must be re-established after relocation | Whole-plate illumination and glare |
| Indicators | Spaced within the original tail layout | May be crowded or obstructed by the plate | Visibility from both rear quarters |
| Exposure | Often partly shielded by the tail | More exposed to spray and knocks | Legibility after wet riding |
| Documentation | Covered by the vehicle's original configuration | Depends on kit evidence and installation | Markings, instructions, national rules |
Related tail modifications raise similar questions, so it helps to compare this decision with a conventional motorcycle tail tidy and its installation implications before choosing a lateral route. The comparison keeps you focused on geometry rather than appearance alone.
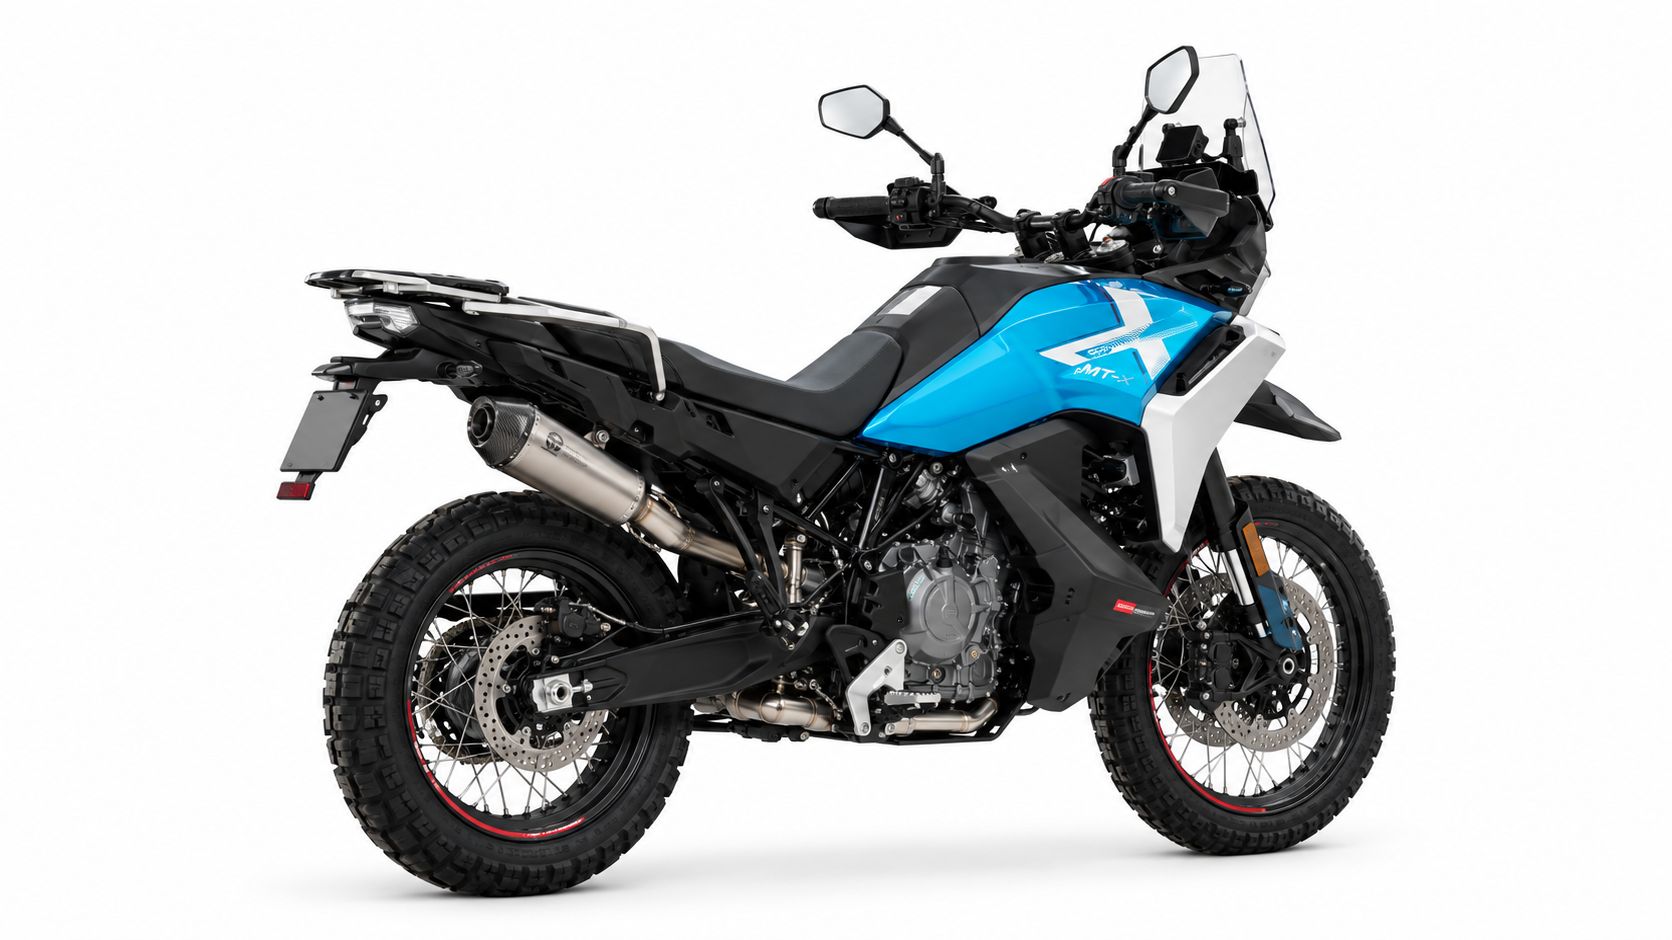
Other rear-end changes can interact with the holder. For example, the TERMINALE HP CORSE SP-2 SHORT TITANIUM CF MOTO - 800 MT-X 2025 is listed with code CF8MTXSP2ST-AB and a requirement for CF8MTXPLATE PLATE HOLDER, which shows why exhaust and plate-holder choices shouldn't be checked in isolation.
Choose the lateral design only if you can document and verify the finished arrangement for your exact motorcycle and country. If you can't, the original setup isn't a failure of imagination. It's the lower-risk answer.
Mounting and Maintaining the Plate Holder
In the workshop, the motorcycle is stationary, upright, and cool. The rear wheel area is clean enough that you can see the mounting points, wiring connectors, and the path of the chain or belt. That preparation matters because small alignment errors become obvious only after everything is tight.
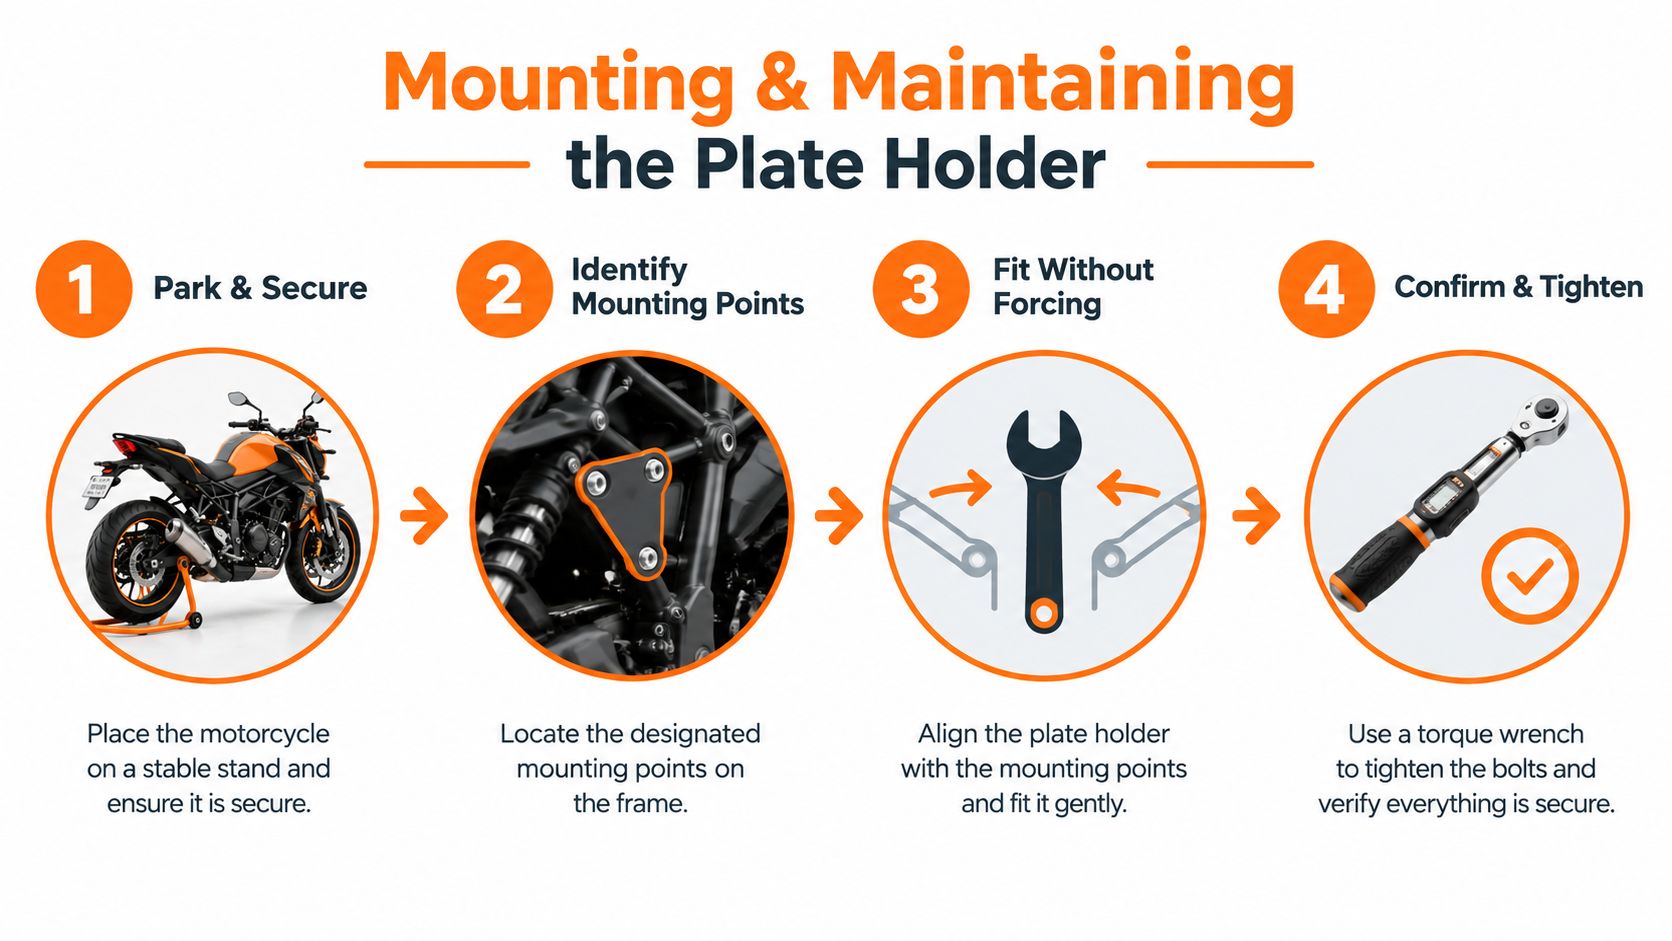
Begin by identifying the mounting points specified for the kit. Fit the support loosely and confirm it settles into place without being forced. If you need to spring the arm sideways to start a bolt, stop and find out why.
Fit, Measure, Then Tighten
Mount the plate in its frame before final tightening. Check the plate's height, inclination, and lateral position while you can still adjust the assembly. Then tighten fasteners in a sensible sequence and measure again, because clamping can pull a bracket out of the position you set by hand.
Install the specified white plate lamp in the manufacturer's permitted position. Don't rotate it for a cleaner cable run if that rotation changes where the light falls. The lamp orientation is part of the compliance system, not a styling detail.
Route wiring with slack where movement requires it and restraint where it doesn't. Keep cables away from the tyre, suspension travel, drive components, and hot exhaust parts. Use the manufacturer's instructions for connectors and mounting hardware, and separate those instructions from general mechanical habits you may bring to the job.
Inspect After Tightening and After Riding
Before a road test, run a controlled static check:
- Fasteners: Confirm every bolt and locknut is secure and the bracket doesn't flex by hand.
- Lamp: Switch it on in low light and inspect for shadows, flicker, and direct rearward glare.
- Indicators: Operate both sides and view them from behind and from each rear quarter.
- Clearance: Rotate the rear wheel and recheck wiring and plate clearance through available movement.
After early rides, repeat the check. Vibration can loosen a fixing or shift a lamp, road spray can cover characters, and water can enter a connector that looked sealed when dry. Clean the plate and lamp lens without bending the bracket back into shape by hand. If the angle has changed, find the mechanical cause.
Final road use depends on the applicable rules for your location. A careful installation gives you a verifiable assembly. It doesn't let you skip that last national check.
A Buyer Checklist for Homologated Side Holders
Use one routine before you pay, again before you fit, and once more before you ride. It sounds repetitive, but each pass catches a different kind of mistake. A fitment error shows up on paper, a clearance error shows up on the motorcycle, and a lighting error shows up in the dark.
Before You Pay
- Exact motorcycle: Model, variant, and year match the kit's fitment reference, with no assumed carryover between generations.
- Plate format: Your national plate fits the mounting space and frame without covering characters or bending the plate.
- Approval evidence: Markings and documents identify which component they cover, and the fitting instructions are included.
- Lamp compatibility: The specified plate lamp, its permitted position, and its wiring requirements are clear before purchase.
- Country check: You've verified the current national requirements for where the motorcycle will be used.
Before You Ride
Check indicator clearance, tyre and suspension movement, support fixings, wiring security, and corrosion protection on exposed hardware. Inspect the whole plate under its lamp and view the assembly from behind and from both rear quarters. Photograph the installed geometry for your records and retain the instructions with the motorcycle documents.
Closing check: If you can't state what is approved, what it fits, and how the finished plate satisfies your national rules, you're not ready to buy.
Weather exposure deserves a final look. A side plate often sits closer to spray from the rear tyre, so connectors, fasteners, and the lamp housing need to suit wet, dirty use. If the kit looks delicate in that position, maintenance will become a recurring argument between appearance and legibility.
A portatarga laterale moto omologato is suitable only when component approval, model fitment, and the completed installation all align. That's not a stricter standard invented to make buying harder. It's the standard that keeps a styling change from becoming a roadside problem.
Browse model-specific motorcycle accessories, plate holders, lighting components, and related fitment information at Sixrace, then match the product reference to your exact motorcycle and year before ordering. Bring the approval markings, fitting instructions, and national-rule checks together first, so the part you choose still makes sense after it's mounted.
 Italiano
 Deutsch
 Français
 Español
 English
 Polski